Signing up to use Modulr
This guide explains how to sign up to Modulr as a Direct Customer; you might have been invited by a Delegate (Accountant) to complete your business details, or subscribed via our website with the intention of using Modulr with one of our Accountancy Partners (e.g. BrightPay, Iris etc).
This journey is only live for a small group of customers at the moment, you may still need to provide business information when completing the application forms from our .com site.
Summary of steps
- Tell us what software you use and your usage type
- Select the package and pricing that best suits your requirements
- Complete the initial registration form
- Set up payment
- Follow the link in the email you receive to start the application
- Submit the application
- Once checks are OK, you’ll receive an email about how to set up your access
- If further info is required, we’ll be in touch.
As a regulated business, we need you to provide a few details about the business, and its ownership and structure, to meet compliance requirements and to get you set up on the Modulr Portal. Go here for a detailed view of the information we require.
Modulr Accounts are provided by Modulr FS Limited, authorised and regulated by the Financial Conduct Authority for issuance of electronic money (FRN 900573). Modulr Finance Limited is a registered agent of Modulr FS Limited. Registered address: Scale Space, 58 Wood Lane, London W12 7RZ with company number: 09897919.
1. Select your software
Modulr has partnered with several accountancy and payroll partners to give you payment capabilities directly from your software.
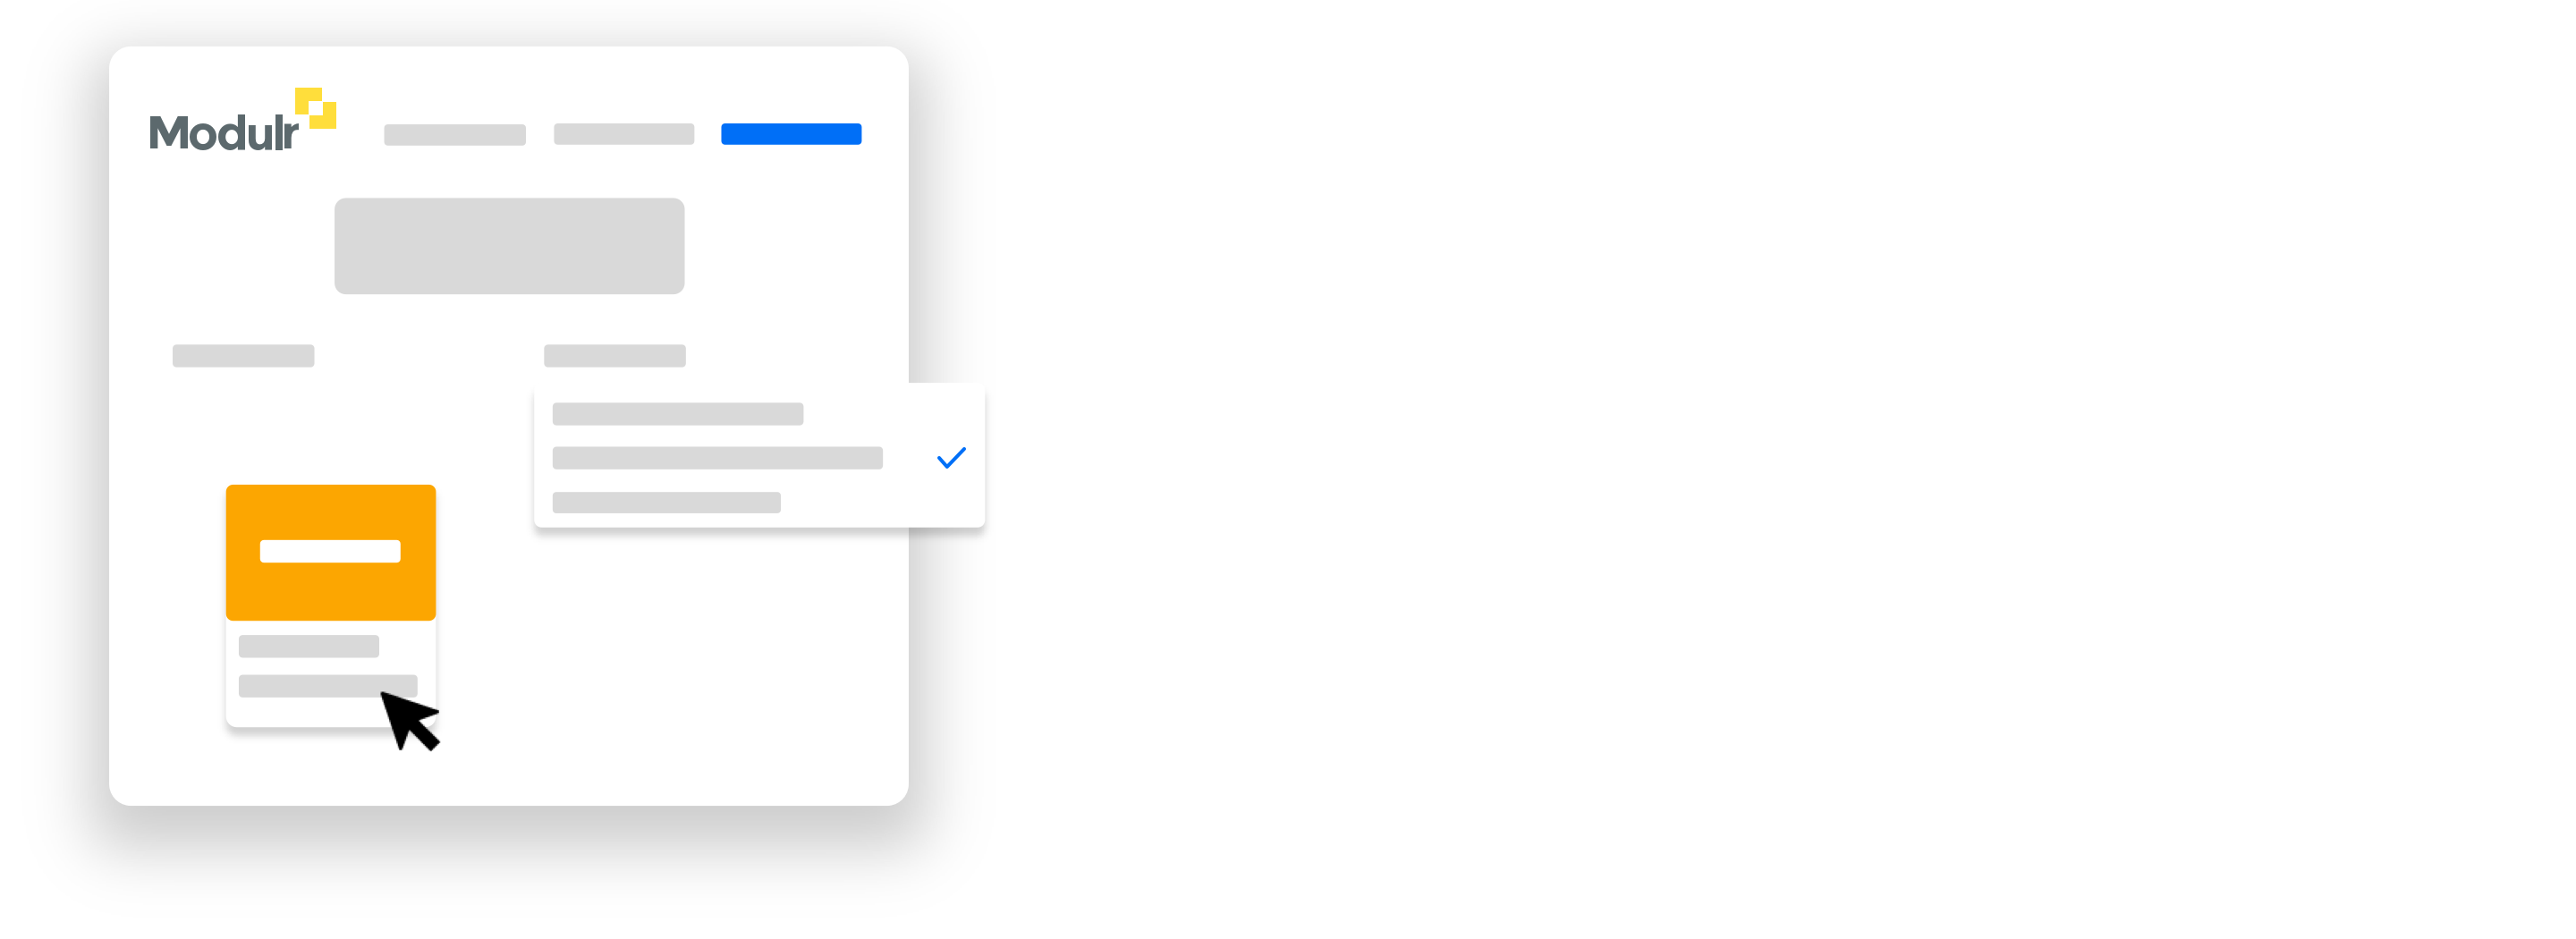
On Modulr’s website select the software you use, and whether you’ll be using it as an accountant, as a business or for employment services from the dropdown lists.
Next, select the option card that displays below the fields that applies to your selections to start your registration.
2. Select package
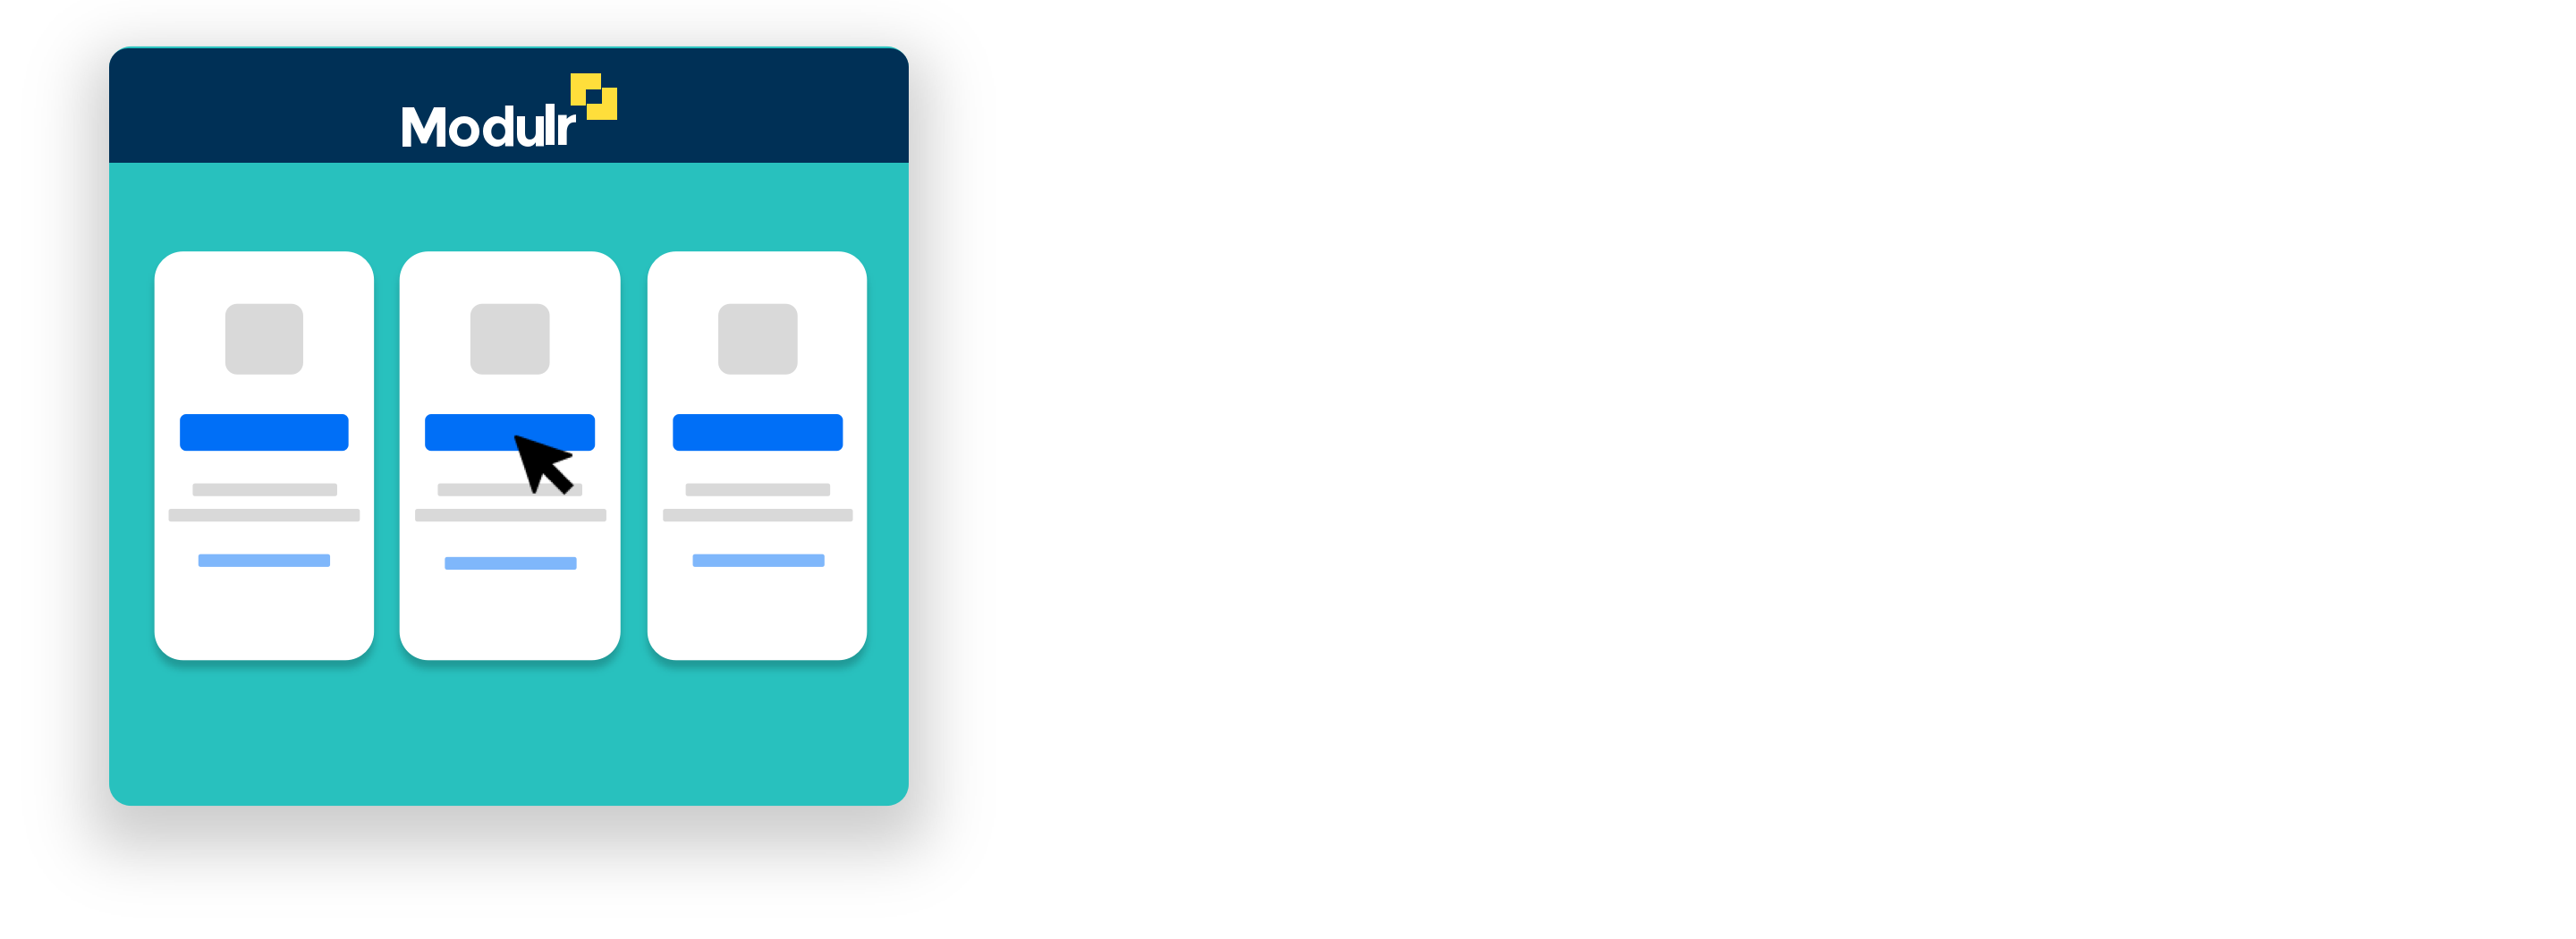
Once you’ve identified your software and usage type, Select the subscription package and pricing that suits you.
Choosing your plan
Before choosing your plan, select ‘Which package is right for me’ to view our calculator tool that can help you decide.
3. Complete the initial signup
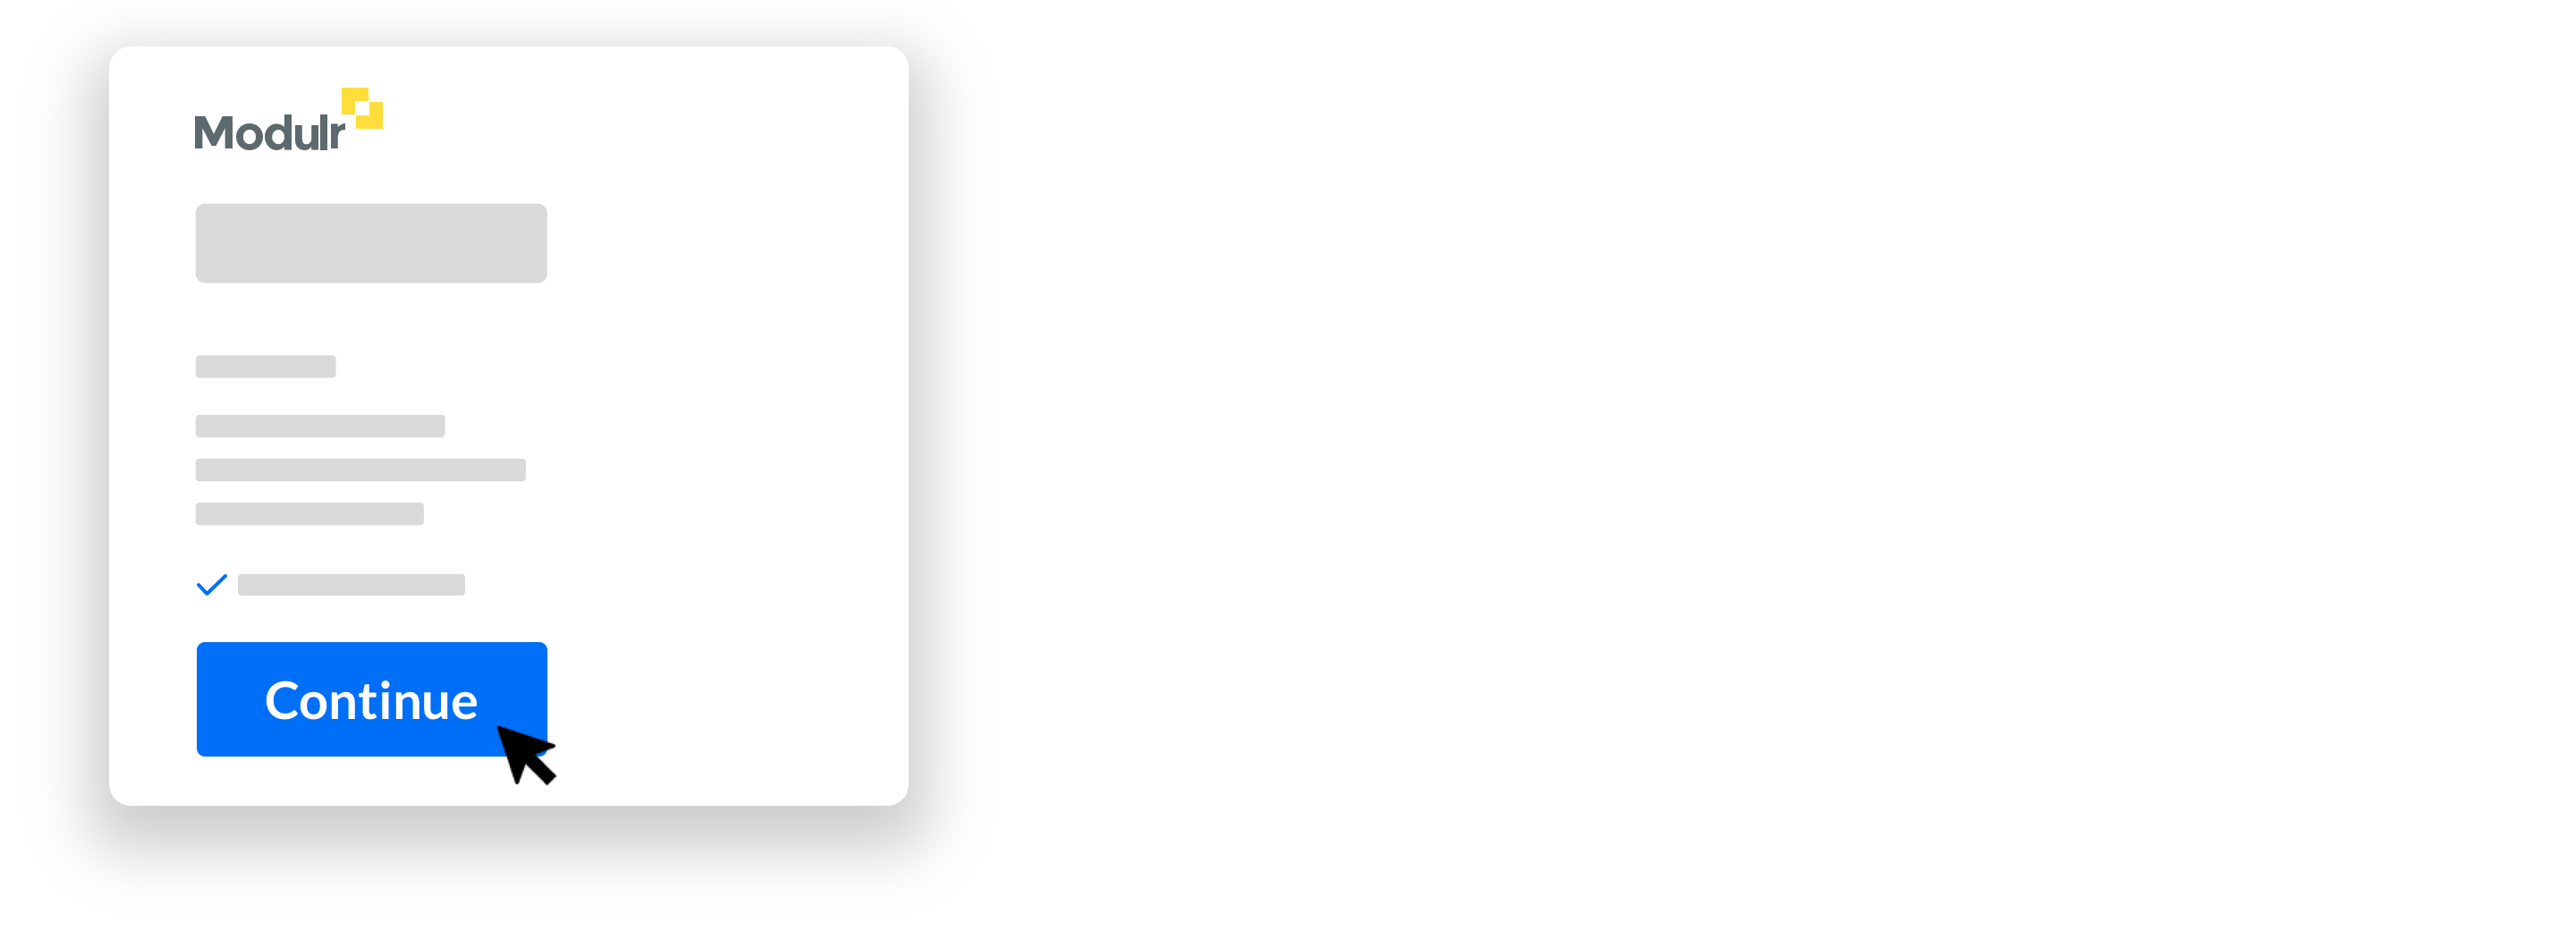
Complete the details on the short form – we need this info to set you up and allow you to save your application as you progress.
- Select continue once you’ve completed the form and have read and agreed to the terms and conditions.
4. Set up payment
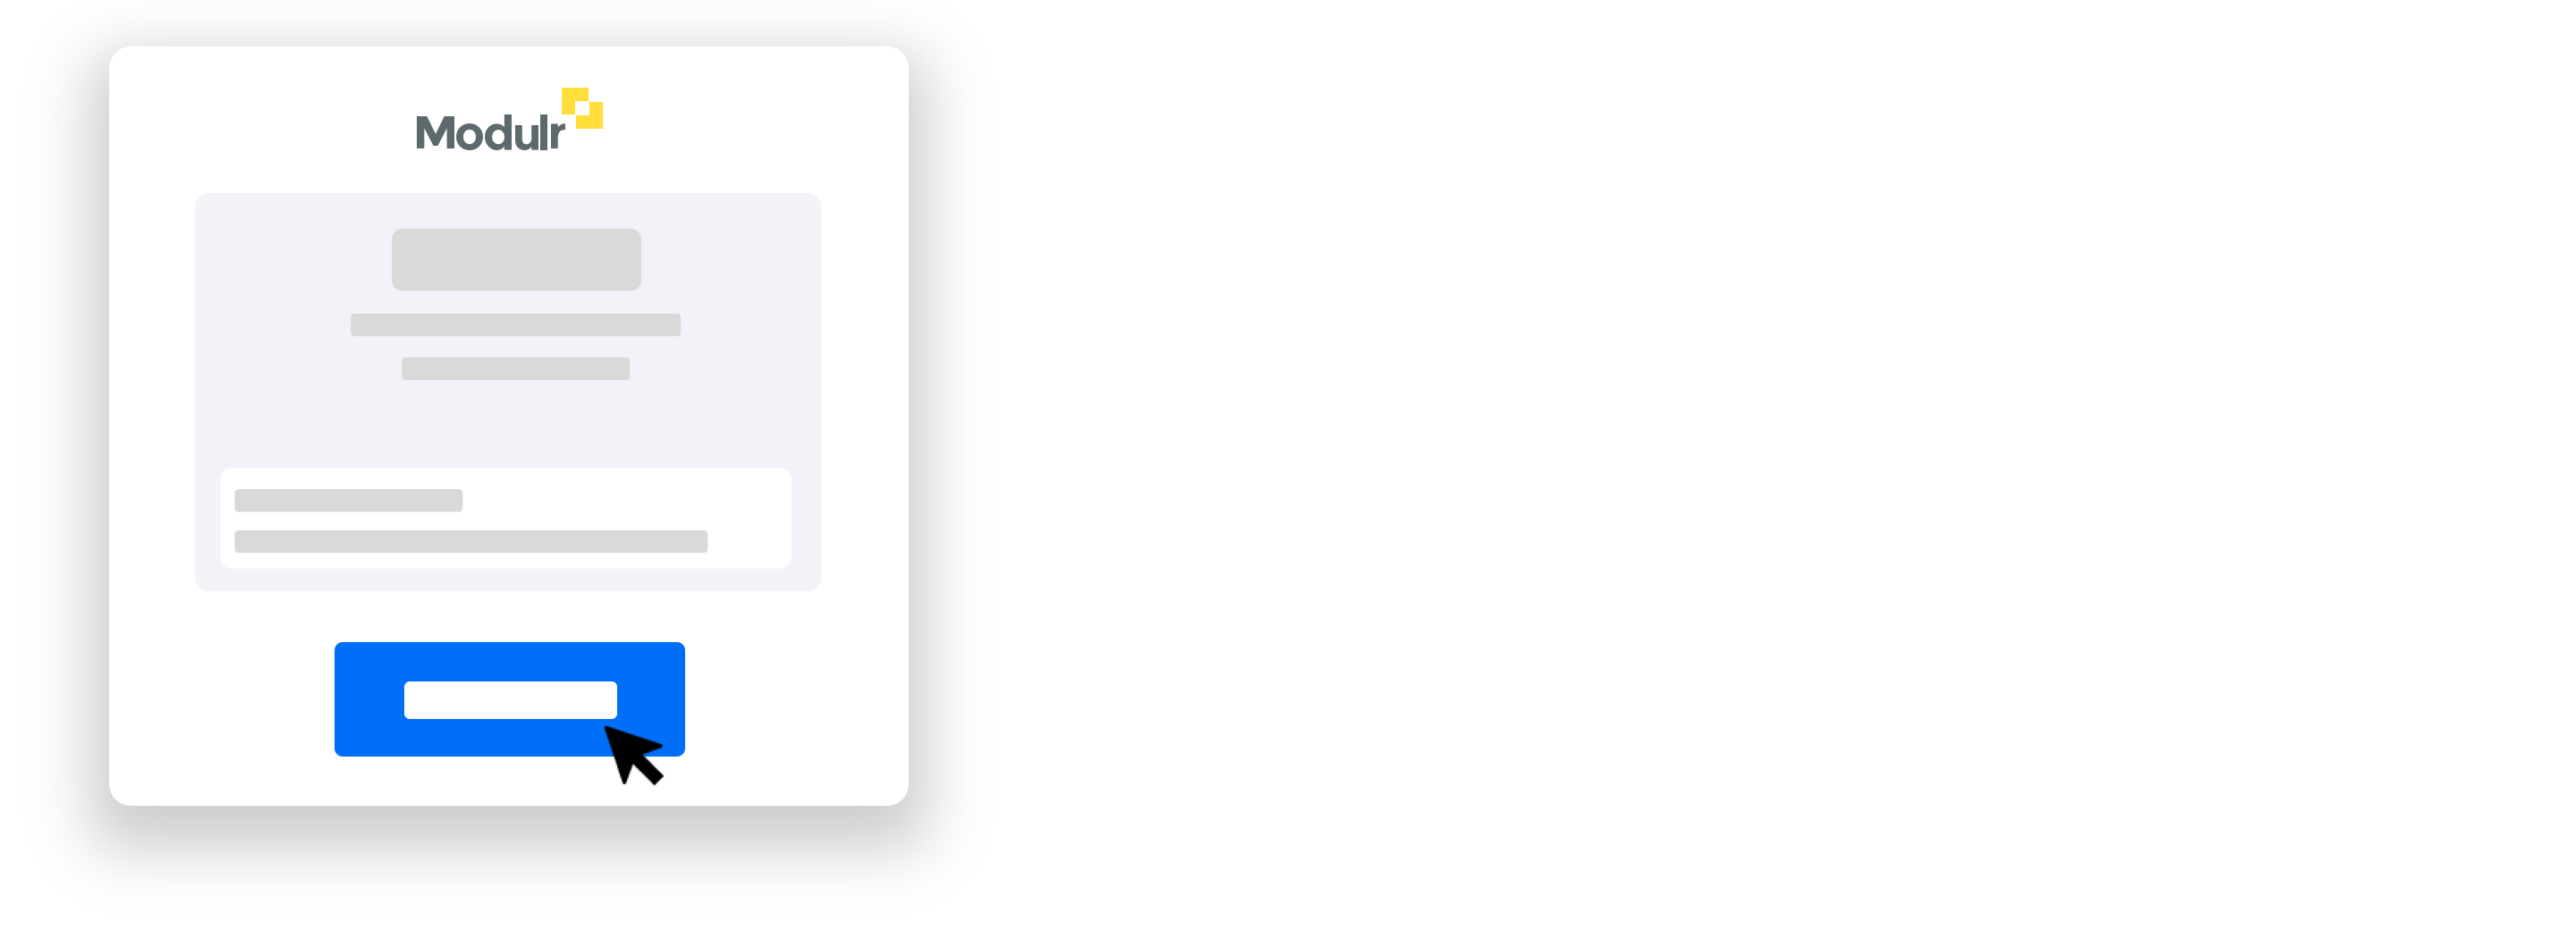
Next we’ll take your payment details from you – Select ‘Set up Payment’, follow the steps shown in the pop-up window on screen and enter your payment details.
You’ll receive an email from us confirming the payment is set up.
- Submit the form when complete.
5. Check your inbox
You’ll receive two emails from us:
- Email confirmation of your package selection.
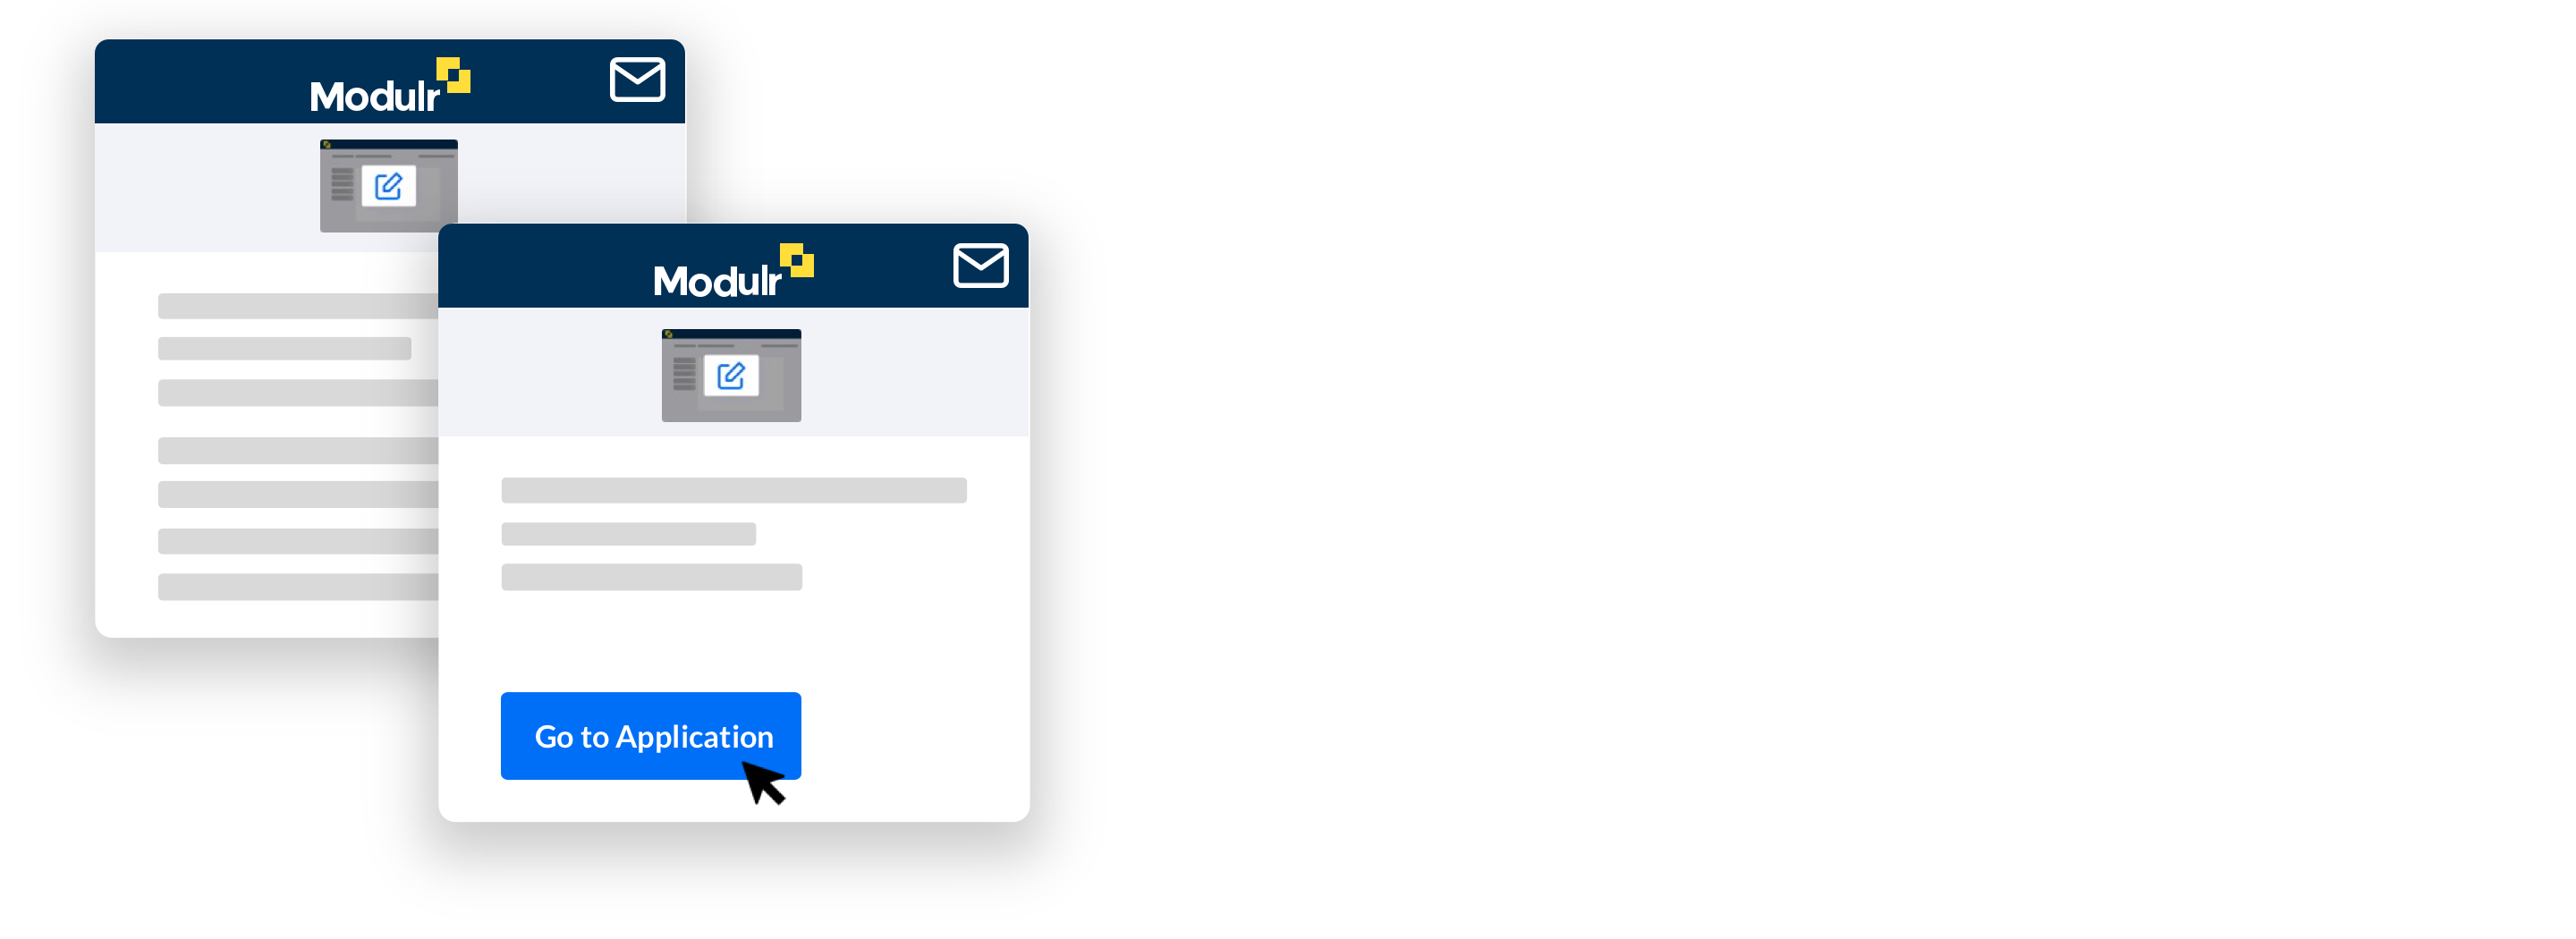
- An application email with a unique link to access and complete your application.
Don’t forget to check your spam if you haven’t received it.
- Select ‘Go to Application’ in the application email to start.
Saving and returning
The application can be saved as you progress – return to it by selecting ‘Go to Application’ in the Application email.
6. Application start
Once you’ve selected the link from the email, you'll be directed to a page listing your application (other applications will appear here too if you have more than one subscription).
- Select the application from the list to start.
7. Information screen
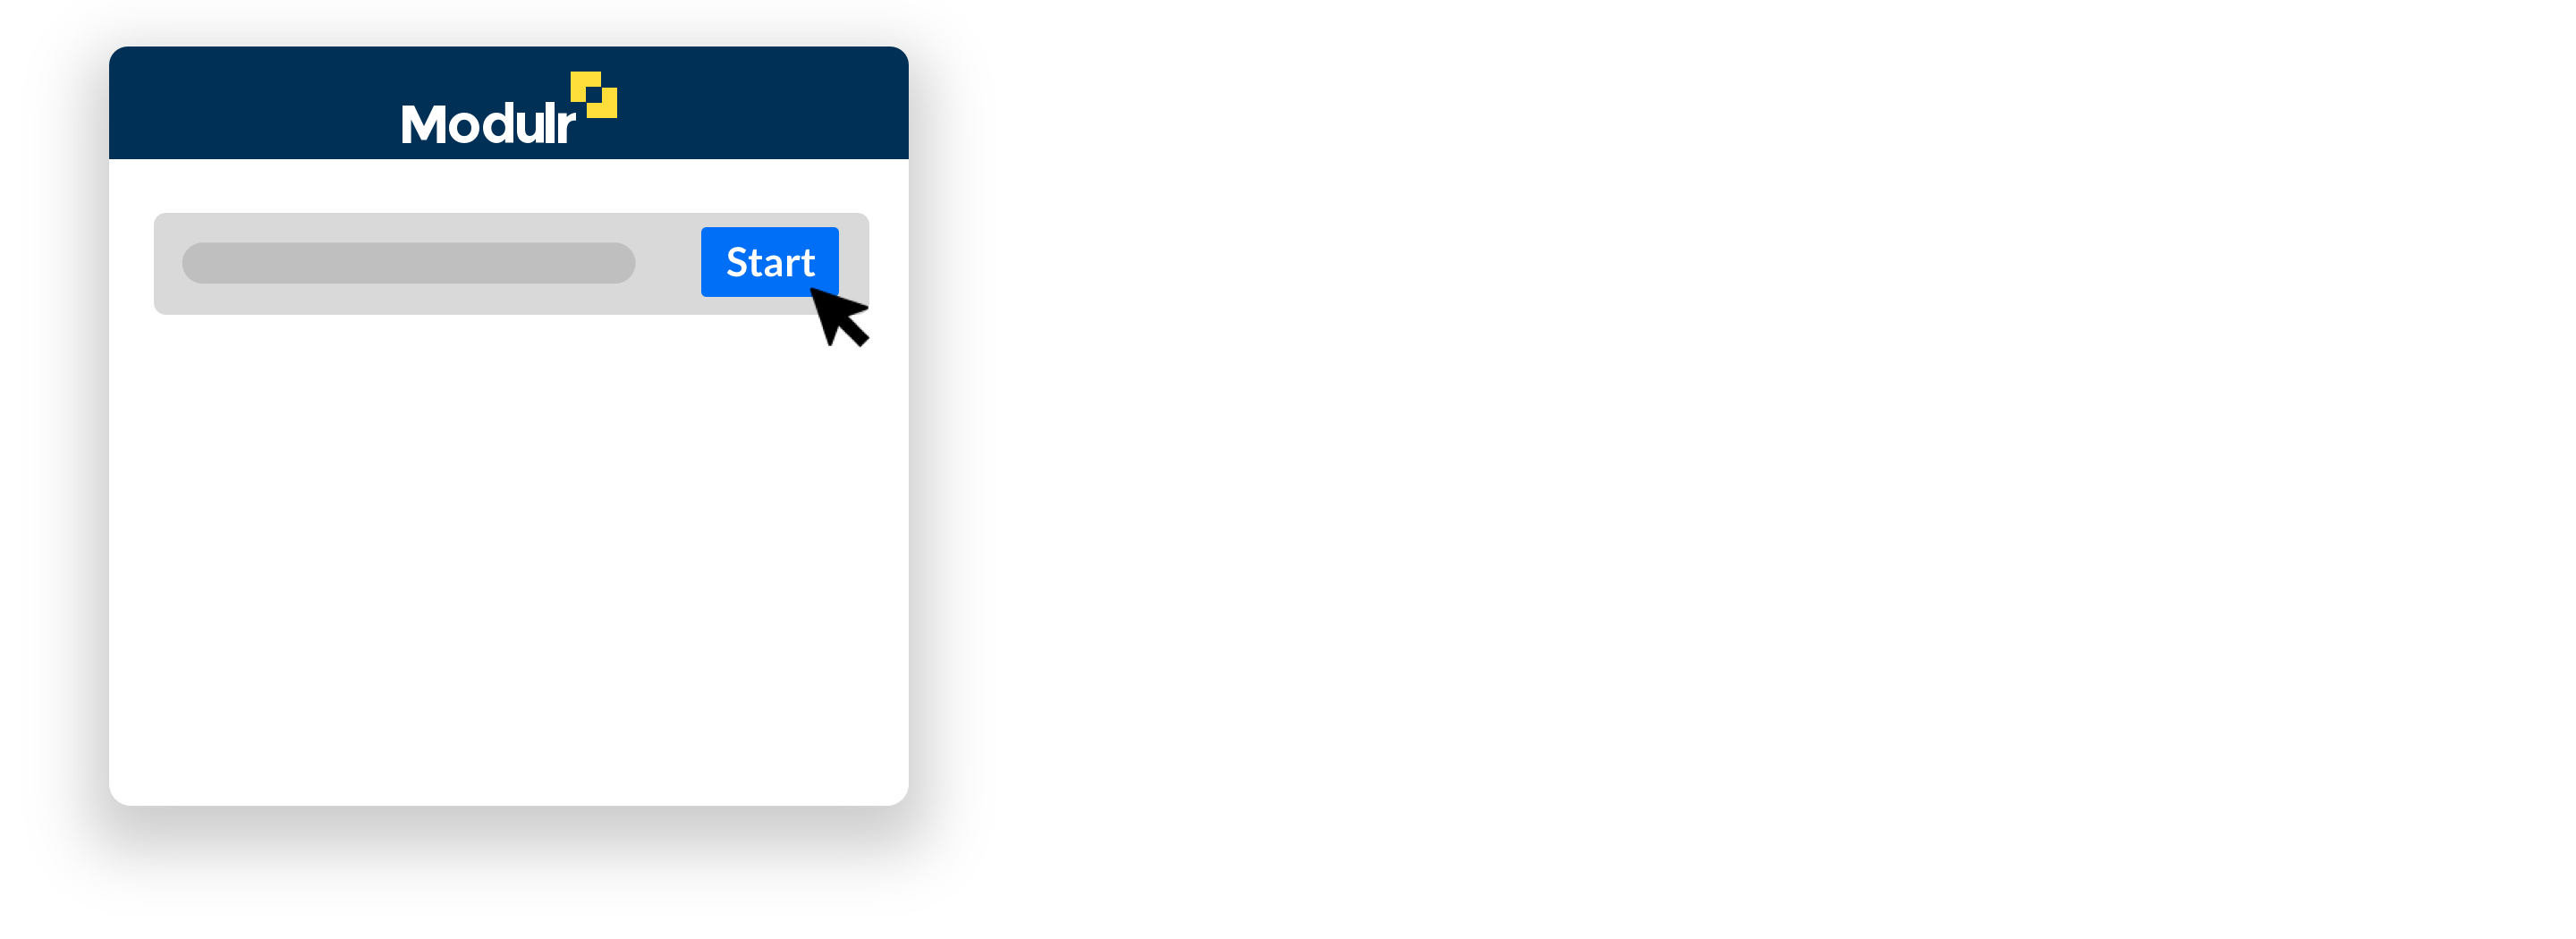
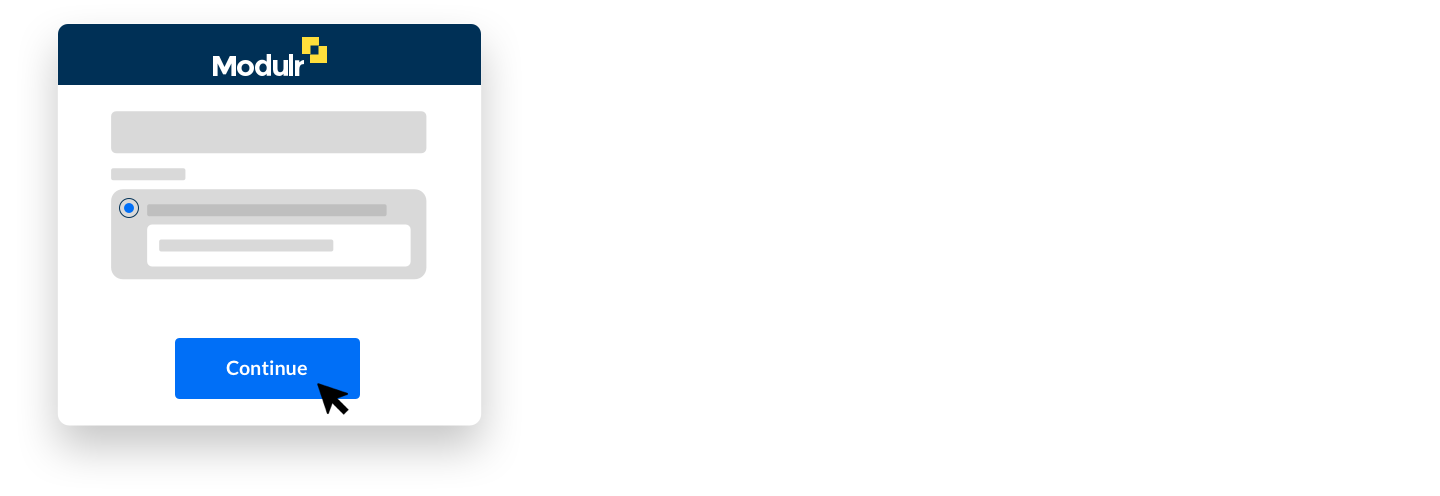
Next you’ll see the ‘Start your application’ info screen.
- Enter the email address you used to sign up with.
- Select Continue
8. Business Name Lookup – Limited type companies
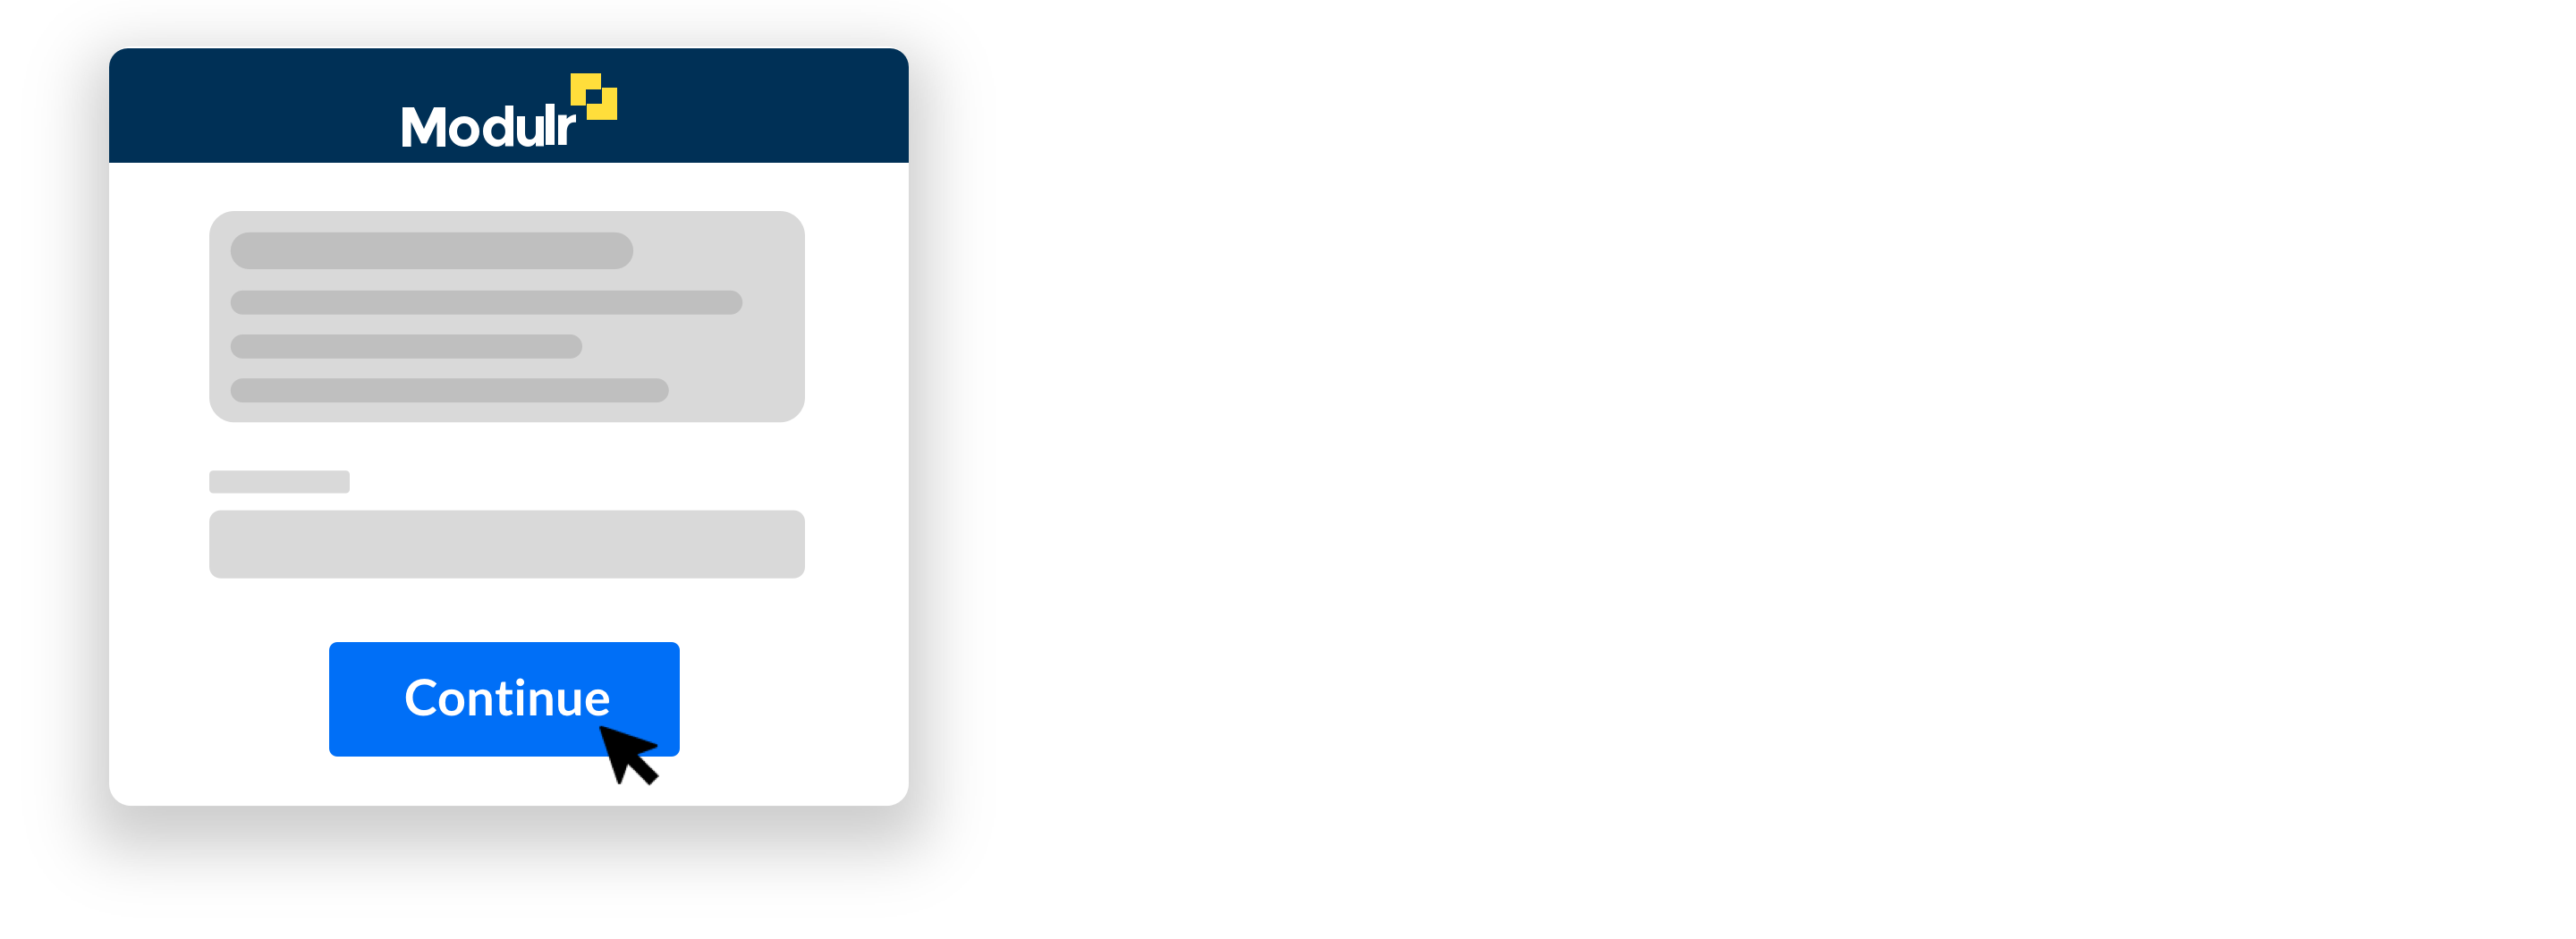
If your business is a Limited Company, Limited Partnership or a Limited Liability Partnership, our Business Lookup will pre-populate information so you don’t need to enter many details.
(Sole Traders and Ordinary Partnerships: skip to step 6)
- Select Limited Company, Limited Partnership or LLP
- Enter your business name in the search box
- Select your business when it appears in the list
- Select Continue
Important!
Make sure you select the correct business from the search results. The registered business number is also displayed so you can be sure.
9. Business Name – non-Limited type companies
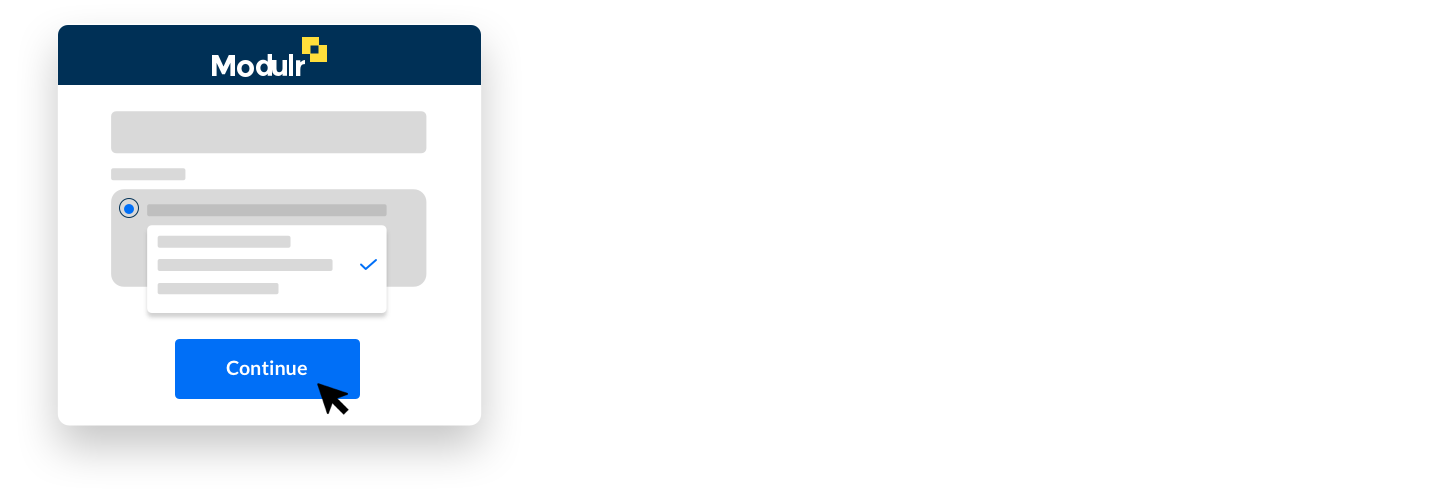
If your business is a Sole Trader or Ordinary Partnership, we can’t retrieve your business information as it isn’t publicly listed.
When you start the application, you’ll be asked to fill in the details manually.
- Select Sole Trader or Ordinary Partnership
- Enter your business name in the field
- Select Continue
10. Main application page
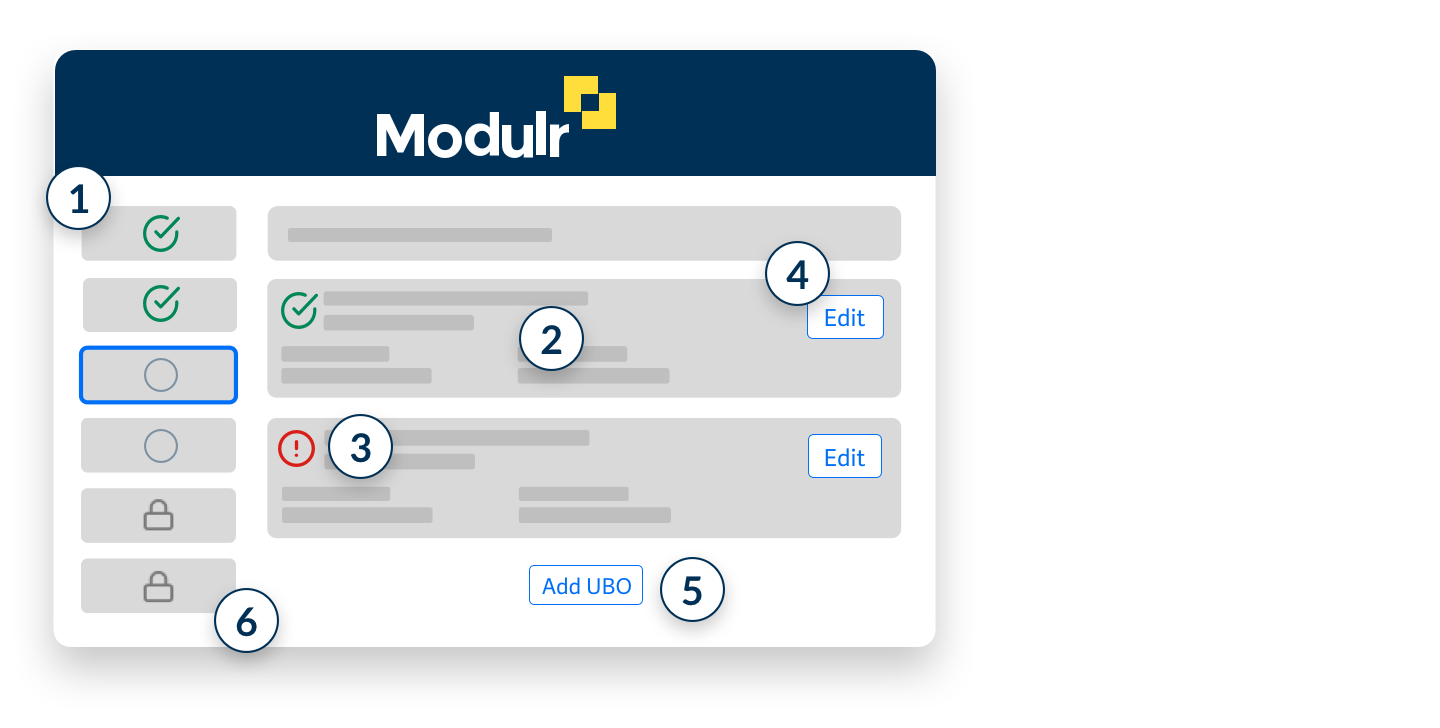
- The sections on the left show progress and what needs to be completed for your application.
- When you select each section, you’ll see information we’ve retrieved, if available, in ‘cards’.
- Check each card’s details. If any details need completing, the card will display ‘Incomplete’ at the top.
- Select ‘Edit details’ if some information isn’t complete, a form will pop up where you can enter what’s required. Select Save Details to continue.
- We’ll show a prompt to add details if we couldn’t retrieve them, or if you need to add extra details that should be included but aren’t shown.
- Some sections can’t be selected until prior information is completed (they’ll display a padlock icon). They’ll become unlocked once necessary prior sections have been completed.
Information we ask for at signup →
11. Completing all the sections
As you complete each section, they’ll be marked with a tick on the left menu and will be coloured green.
- Select the ‘Submit Application’ section once you’ve completed all sections
- You can go back to any section to review or change anything you’ve added.
- Please double-check everything is correct before you submit.
12. Submitting the application
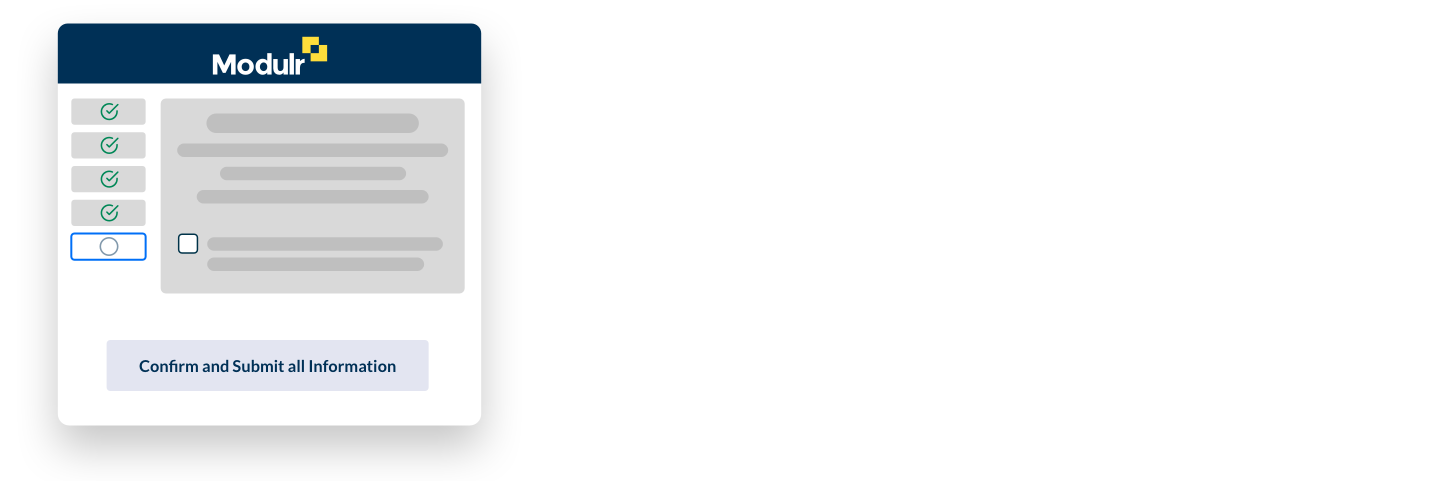
Once you’re happy all the information is correct, you can submit your application.
- Double check that all the information is correct.
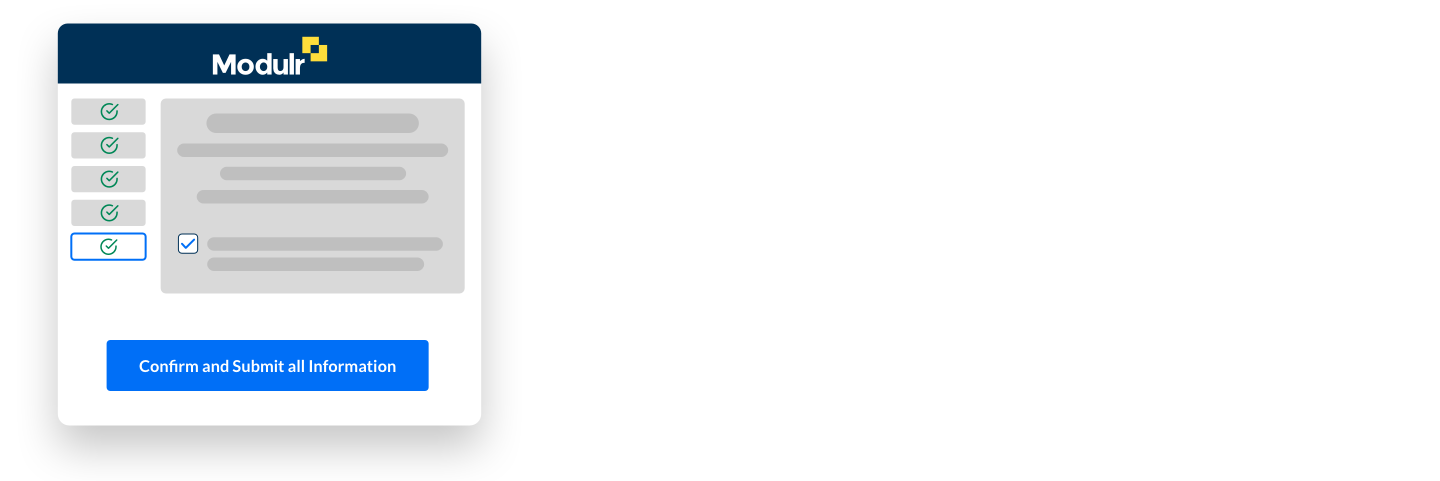
- Read the disclaimer and select the checkbox if you agree with the statement.
- Select ‘Confirm and Submit all Information’.
13. Submission complete
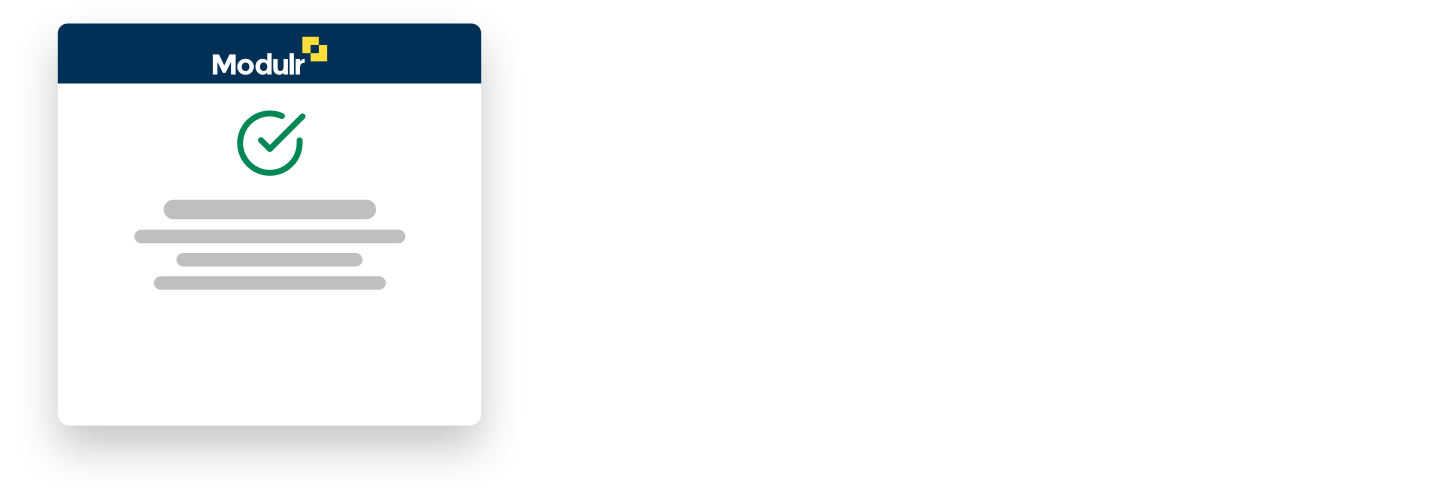
Once submitted, you’ll see a confirmation screen stating that the application has been submitted successfully.
- You’ll also receive an email confirming the application has been submitted successfully.
What happens next?
Most applications are reviewed within 5 business days. If any more information is needed to complete your application, Modulr will be in touch via email.
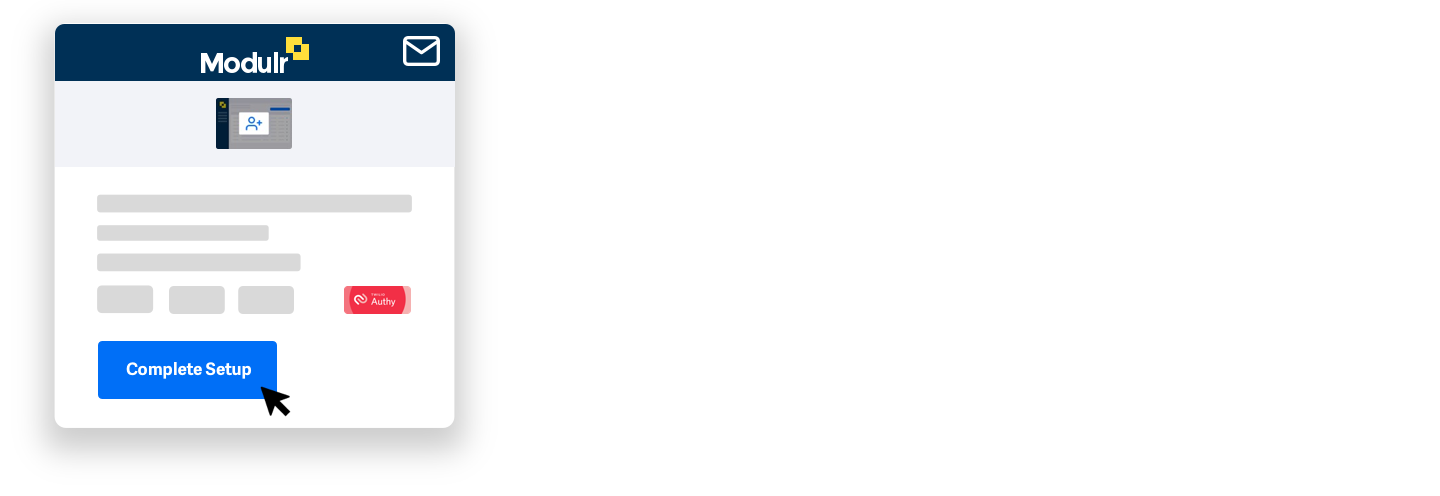
It’s a good idea to download and register the Twilio Authy app (available for iOS, Android and Chrome for desktop) before selecting ‘Complete Setup’. Authy is a security (2FA) app connected to your Modulr access, and provides an authentication step when you sign in as well as when you perform certain tasks in the Portal.
If any further information is needed to support the application (such as additional ID checks etc), Modulr will be in touch via email. Emails will come from [email protected] (check your spam).
Once the application is successful the Admin User will receive their ‘New User’ email with details of how to set up access.
Create a Password
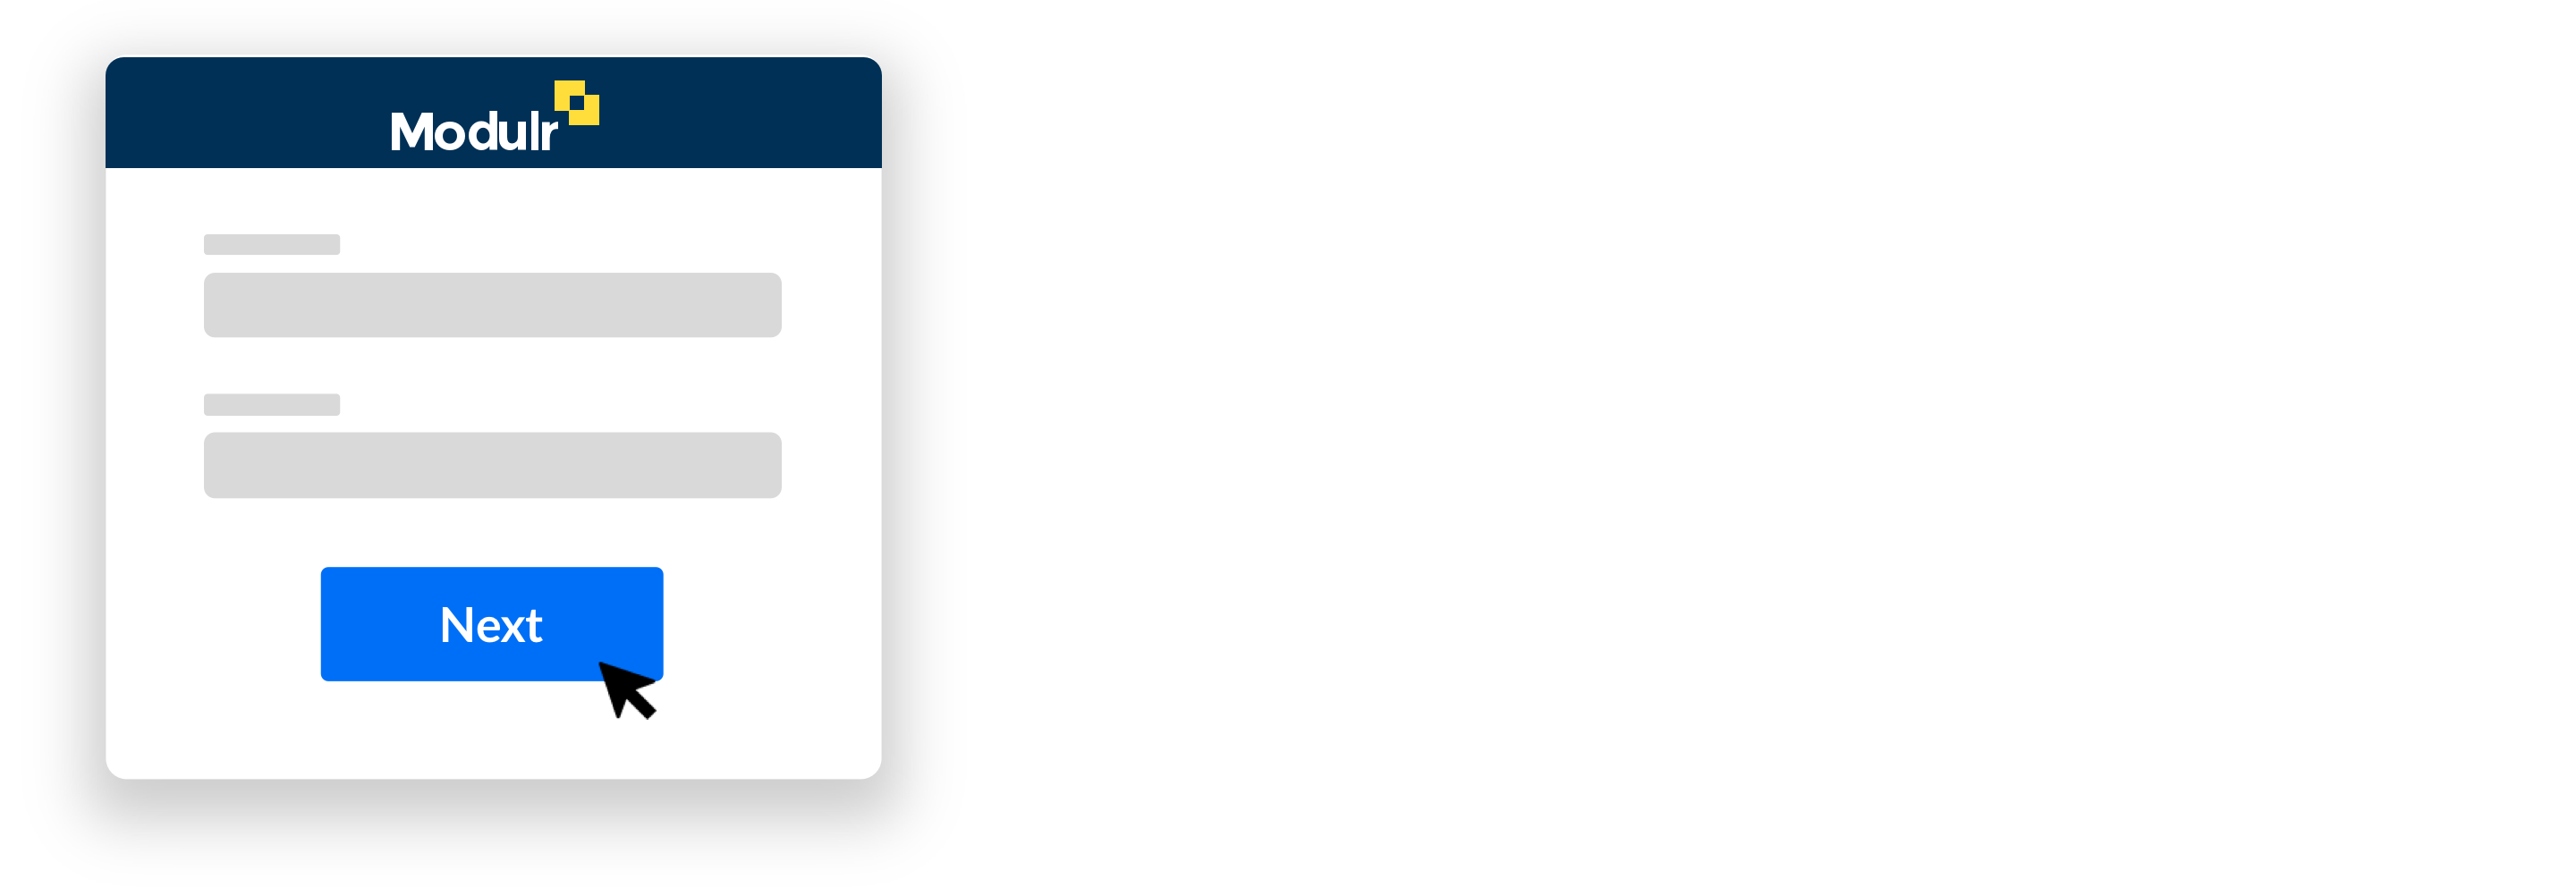
Selecting ‘Complete Setup’ from your New User email will take you to the Modulr Portal.
You’ll then be asked to create a password. It’s important to do this step within 48 hours of receiving the New User email otherwise the link will expire for security reasons. You can request a new email if this happens.
Password help
Your password must use at least 12 characters, include upper and lower case letters, and contain numbers and symbols like @, &, ! Etc. Passwords can’t be the same as your username.
Set up Twilio Authy
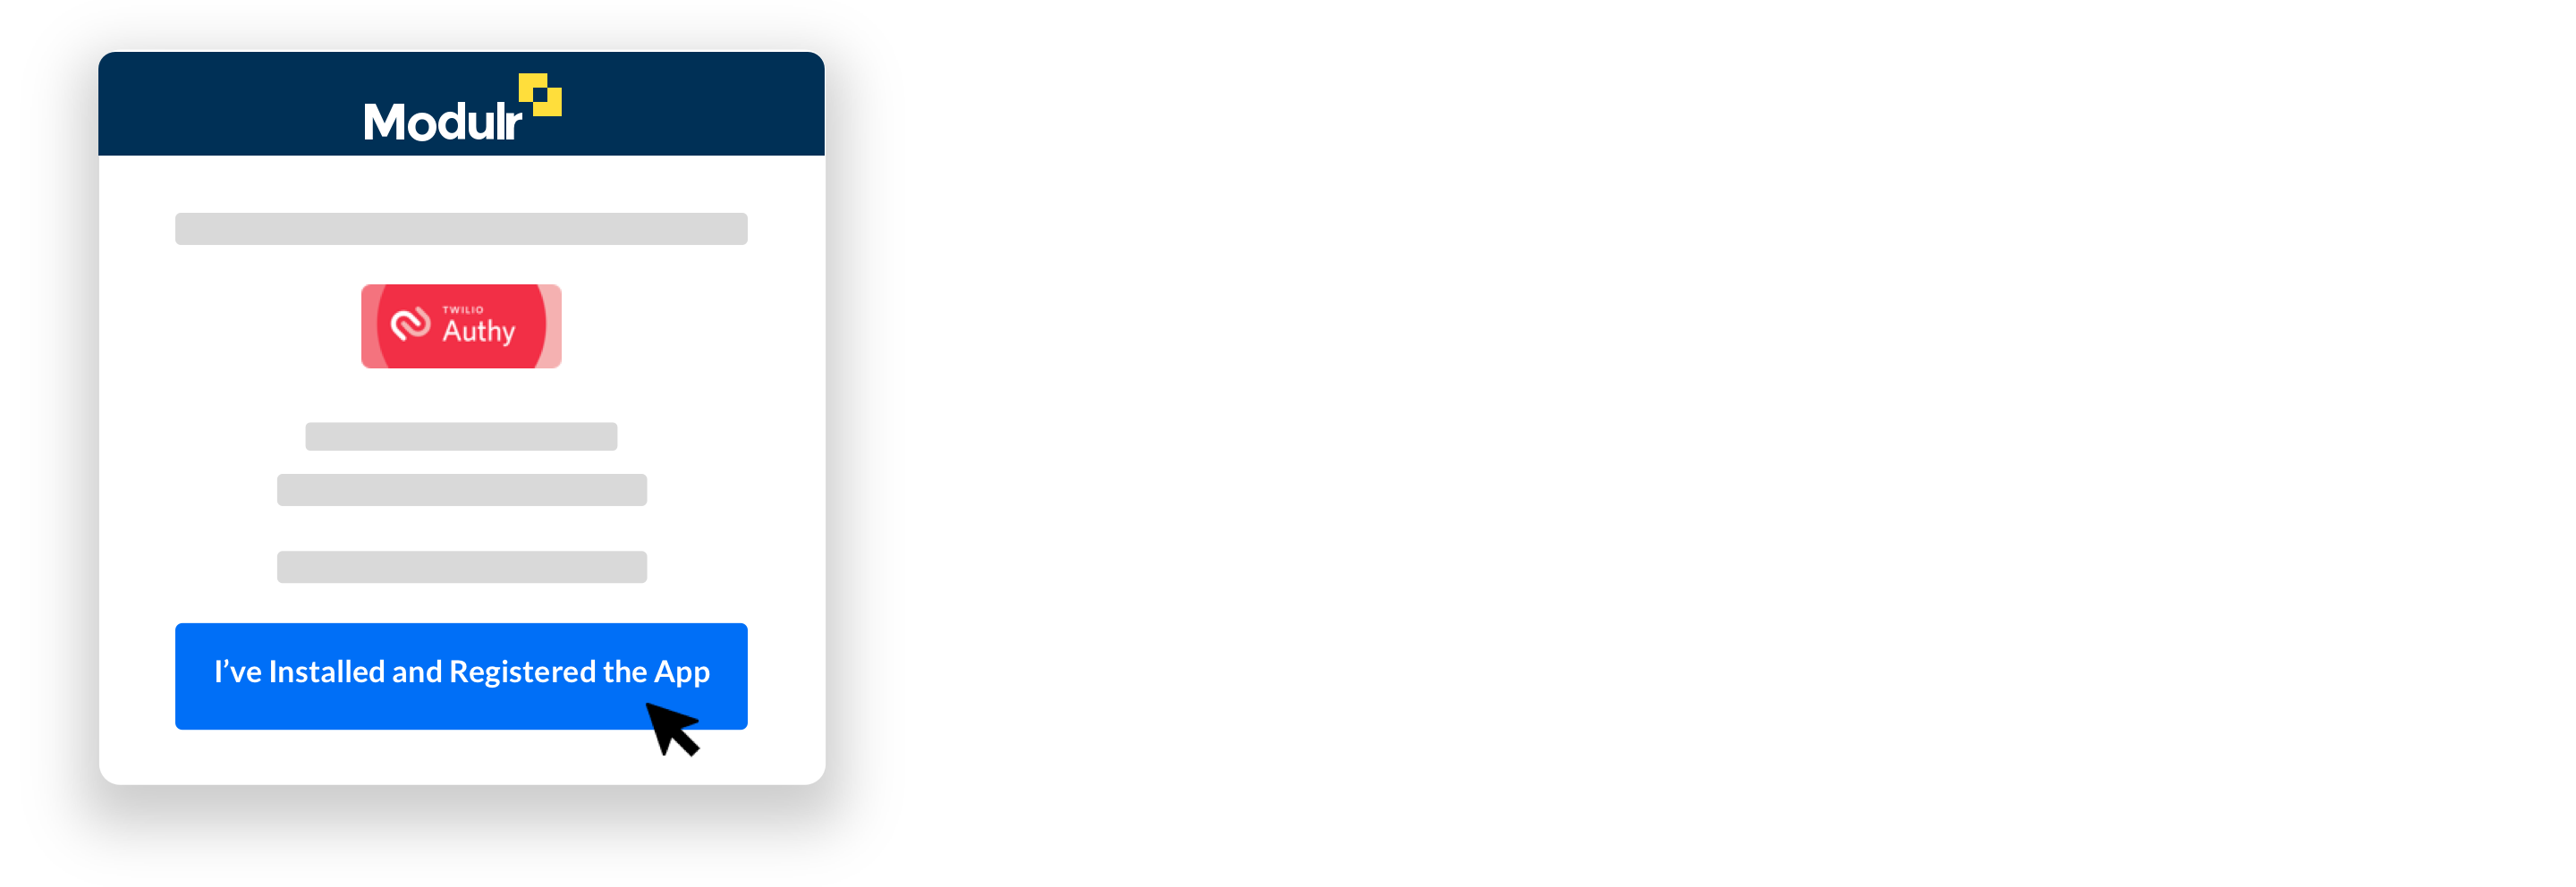
If you’ve not downloaded and installed the Authy app, do this now.
Once you’ve created your password, follow the steps on screen to link your Authy app to your Modulr Portal access.
Modulr Portal access
Once you’ve set up Authy, you’ll been directed to the Modulr Portal.
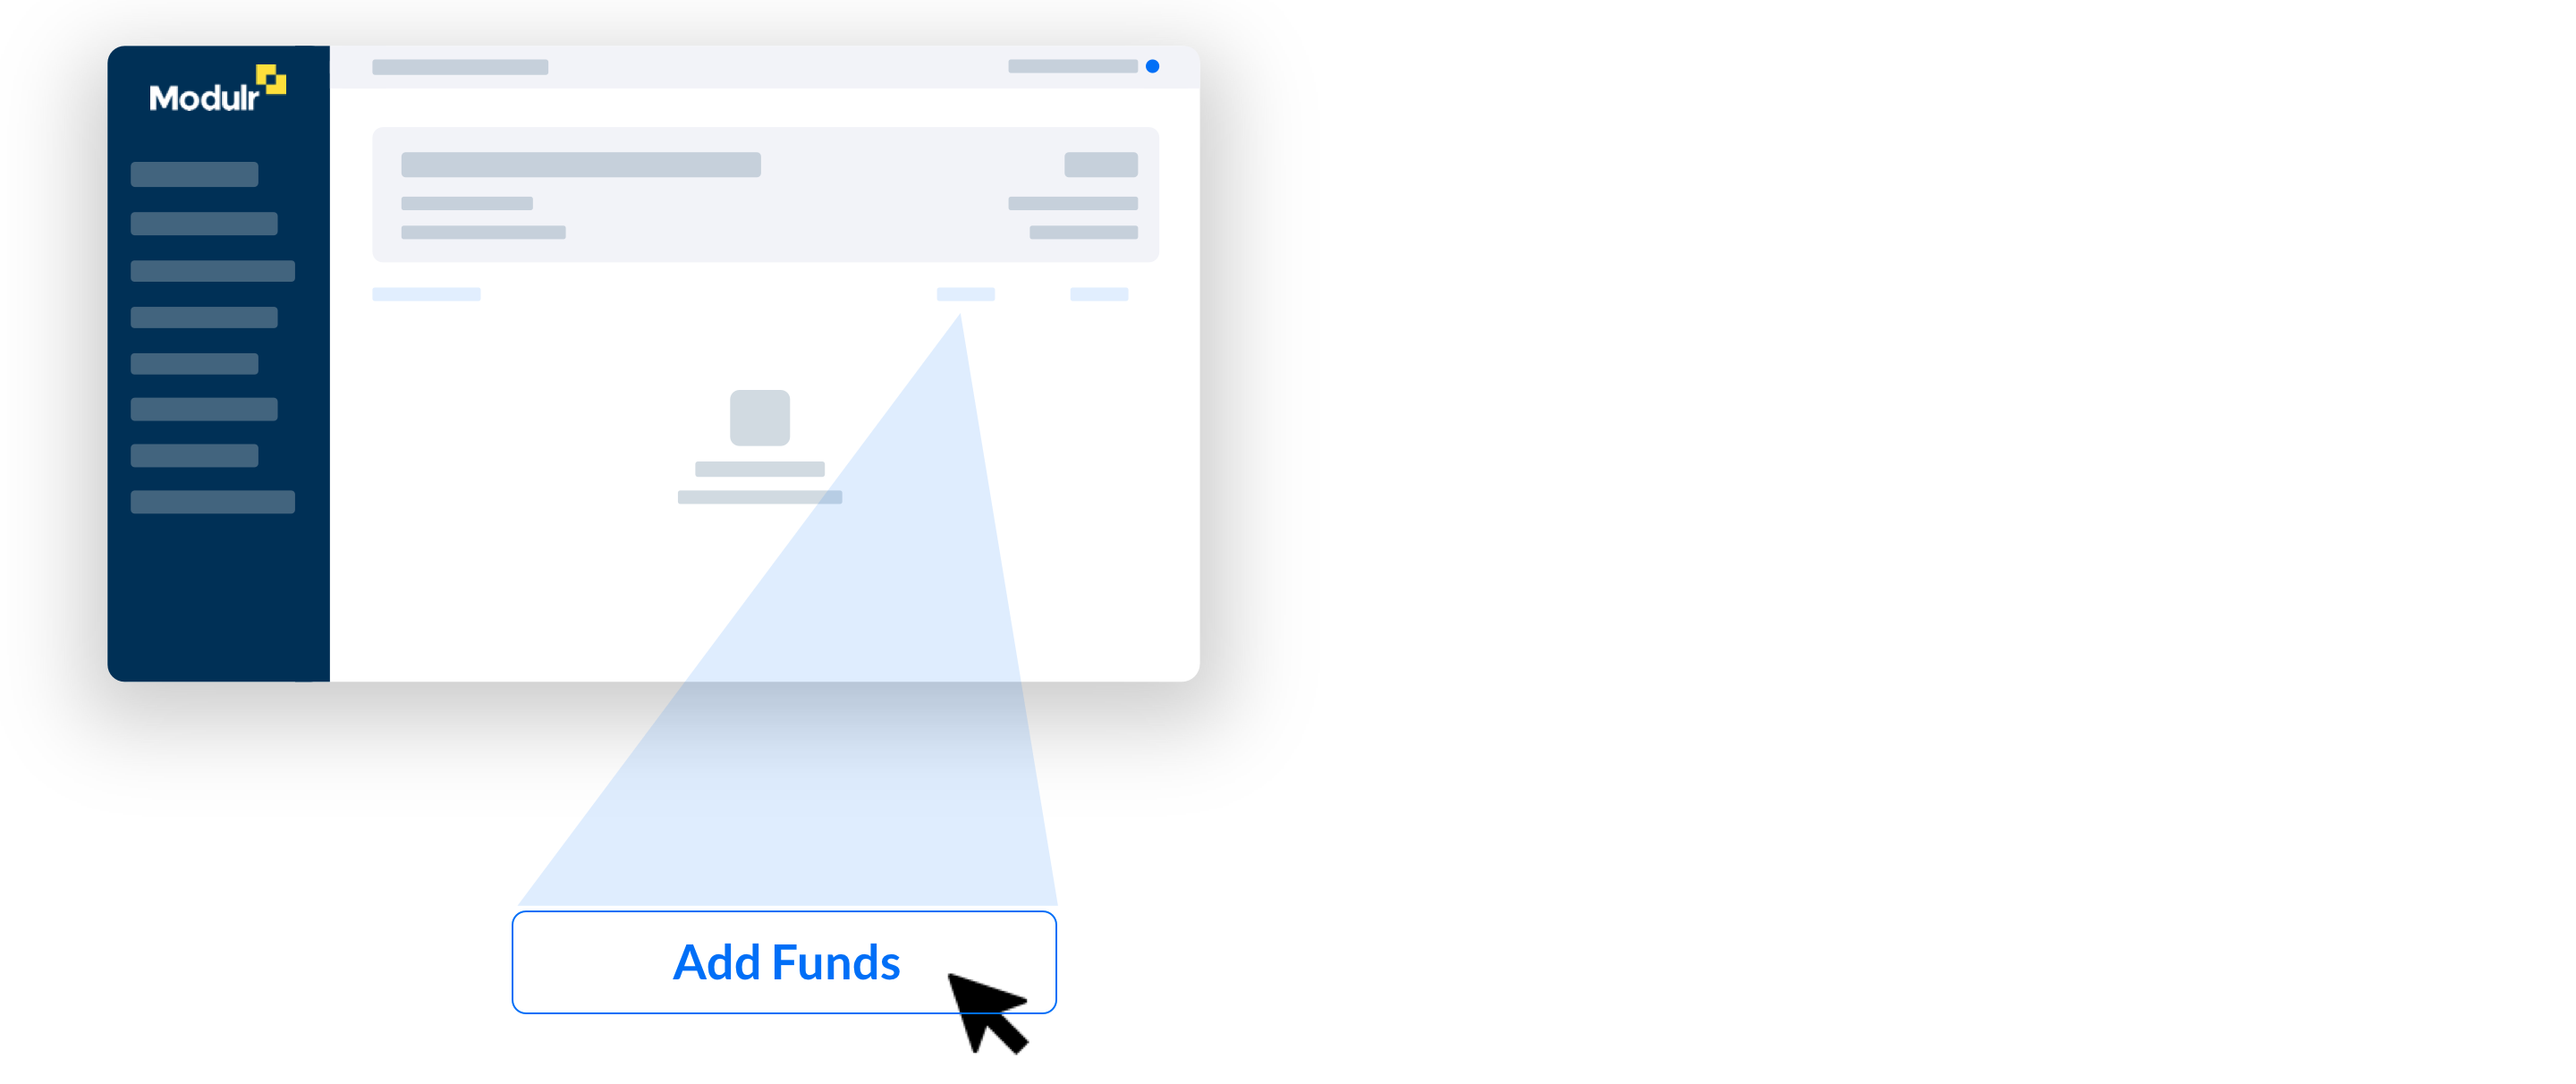
You’ll land on a screen showing your first account – select the account to view the details. You can then select ‘Add Funds’ to add money to your account via your bank without leaving the Portal (you’ll need to sign in to your bank to do this – just follow the steps shown).
Alternatively, you can send money to the Modulr account from your bank to the sort code and account number displayed.
Managing Payments
You can make payments from your Modulr account directly from the Portal
Making Payments in the Modulr Portal →
If you have approvals turned on, your payments will require another person to approve before they send
Managing Approvals →
If you're using Modulr with other software such as Sage, Brightpay, Iris or Xero, payments exported from this software will appear in 'Approvals' when you sign in to the Modulr Portal. Once approved, and the account is funded, the payments will send. If payments are future-dated, they'll wait in Pending Payments until the scheduled date.
Managing Payments →
See also
Updated 8 months ago
