
Delegate (Accountant/Bureau) Users - Creating Customers
As a Delegate (Accountant/Bureau) user, you can create your customers in the Modulr Portal by adding all the necessary business information about the Customer.
As a regulated business, we need you to provide a few details about the business, structure and the individuals involved in the ownership, to meet compliance requirements, in order to set up an account.
We will perform automated checks on the business details and individuals involved in the ownership once submitted, and we'll get in touch if any further info is required.
If all the information is verified after submission, the Customer will be created and be visible in the 'Customers' screen.
Go here for a detailed view of the information we require.
Saving before submitting
You can save a part completed application and return to it later by selecting ‘Save & Exit’ in the application. Select ‘Applications’ on the Customers screen to go back to it.Send application to Client to complete
Once you've entered the Customer details on the first box and started the application, you can select 'Save or Send' from the top right, select Send to Client, and your Client will receive an email with a link to complete and submit the application themselves.
Creating a customer – Delegate (Accountant/Bureau) pre-fills application
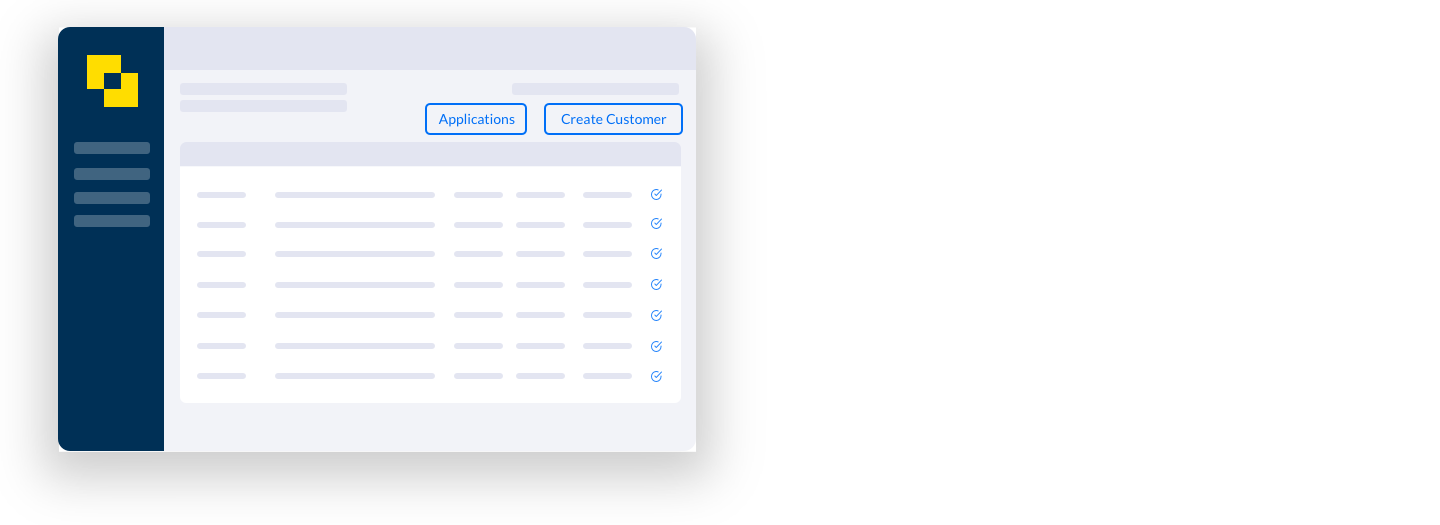
1. Select Create Customer
Sign in to the Modulr Portal. Go to the Customers screen.
- Select Create Customer
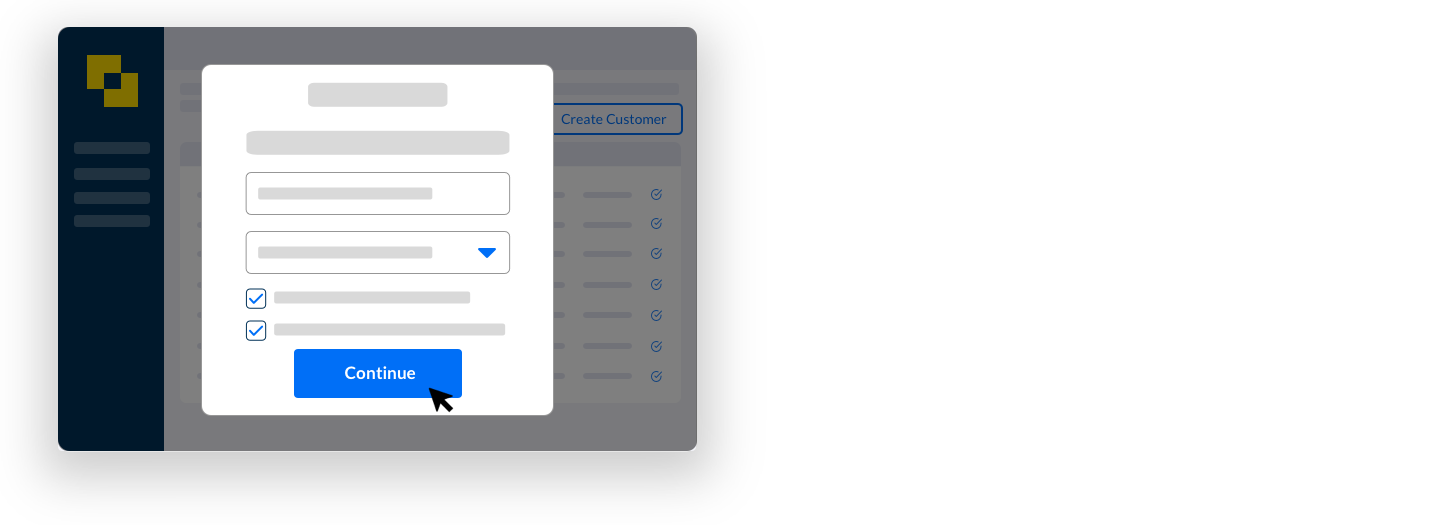
2. Complete the provisional customer form
Give us the Customer’s business name, preferred software and acknowledge the disclaimers.
- Select Continue
3. Select the customer's application
Once you’ve completed the initial form, you’ll be directed to a page listing all your current applications.
- Select the new application from the list to start.
4. Business Name Lookup – Limited type companies
If your business is a Limited Company, Limited Partnership or a Limited Liability Partnership, our Business Lookup will pre-populate information so you don’t need to enter many details.
(Sole Traders and Ordinary Partnerships: skip to step 5)
- Select Limited Company, Limited Partnership or LLP
- Enter the business name in the search box
- Select the business when it appears in the list
- Select Continue
Important!
Make sure you select the correct business from the search results. The registered business number is also displayed so you can be sure.

5. Business Name – non-Limited type companies
If the business is a Sole Trader or Ordinary Partnership, we can’t retrieve your business information as it isn’t publicly listed.
When you start the application, you’ll be asked to fill in the details manually.
- Select Sole Trader or Ordinary Partnership
- Enter the business name in the field
- Select Continue

6. Main application page
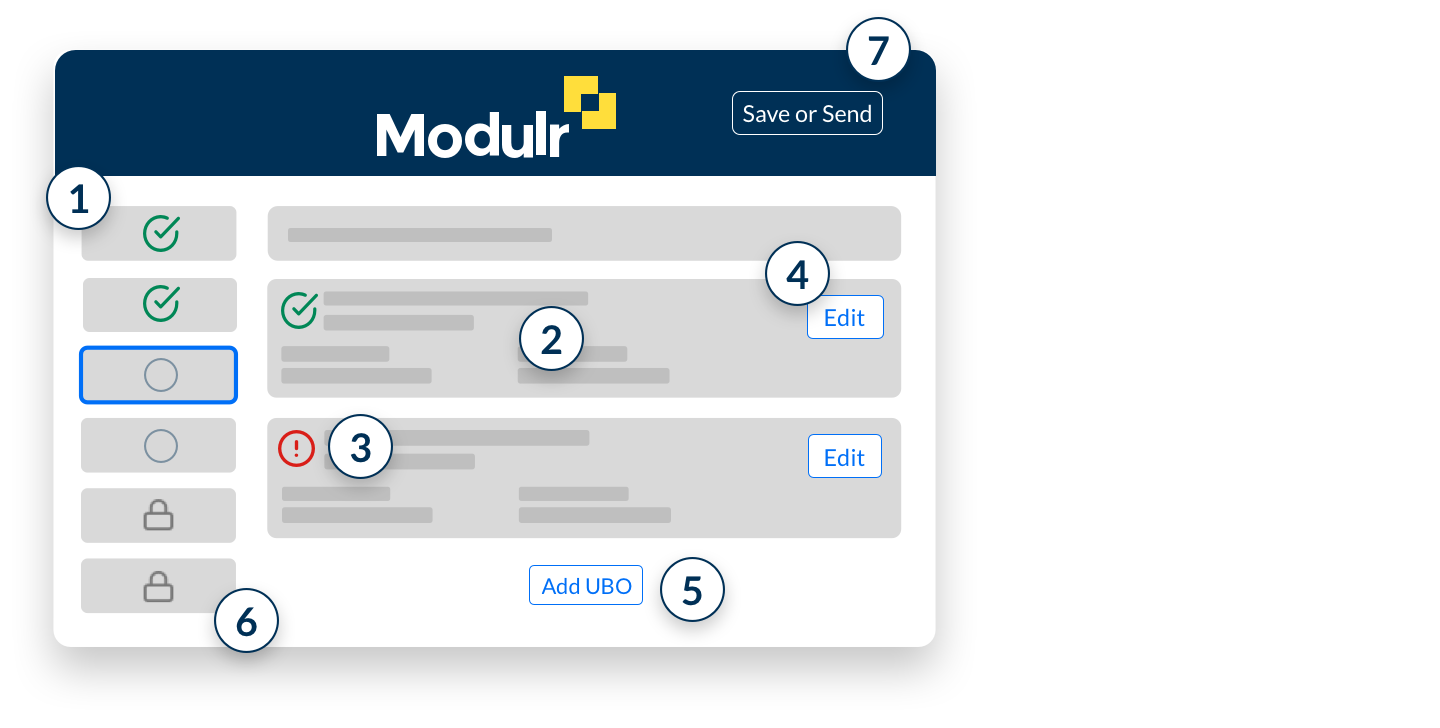
- The sections on the left show progress and what needs to be completed for your application.
- When you select each section, you’ll see information we’ve retrieved, if available, in ‘cards’.
- Check each card’s details. If any details need completing, the card will display ‘Incomplete’ at the top.
- Select ‘Edit details’ if some information isn’t complete, a form will pop up where you can enter what’s required. Select Save Details to continue.
- We’ll show a prompt to add details if we couldn’t retrieve them, or if you need to add extra details that should be included but aren’t shown.
- Some sections can’t be selected until prior information is completed (they’ll display a padlock icon). They’ll become unlocked once necessary prior sections have been completed.
- Save or Send – before submitting – You can save a part completed application and return to it later by selecting ‘Save & Exit’ in the application. Select ‘Applications’ on the Customers screen to go back to it. From this menu, you can also send the application to the Client to complete and submit (see step 9 below)
Information we ask for at signup →
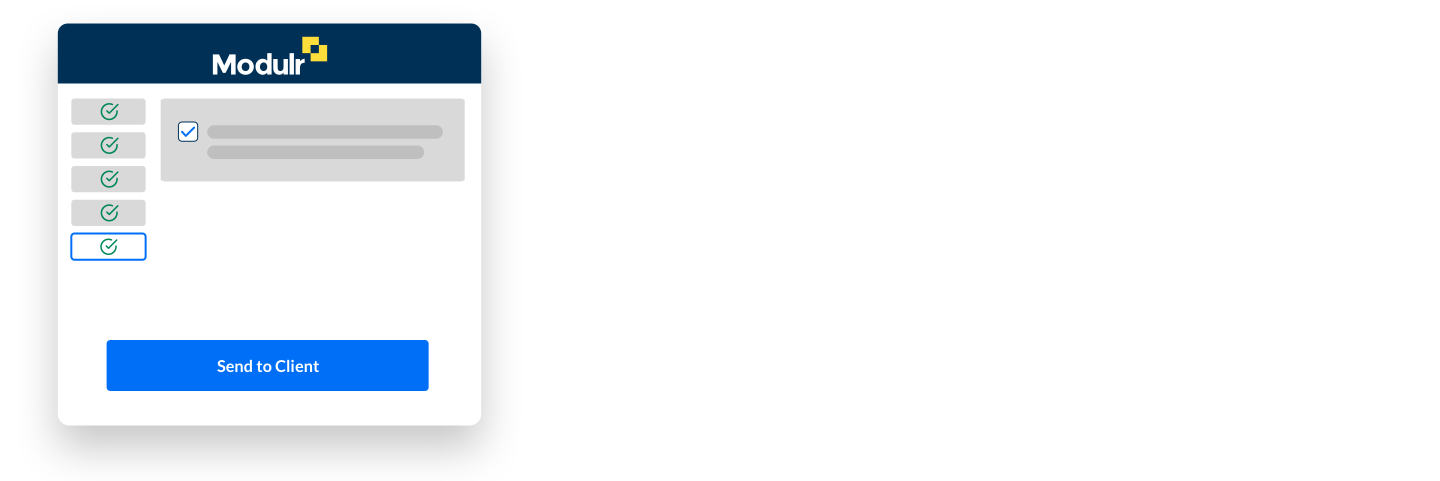
7. Completing all the sections
As you complete each section, they’ll be marked with a tick on the left menu and will be coloured green.
- Select the ‘Submit Application’ section once you’ve completed all sections
- You can go back to any section to review or change anything you’ve added.
- Please double-check everything is correct before you submit.
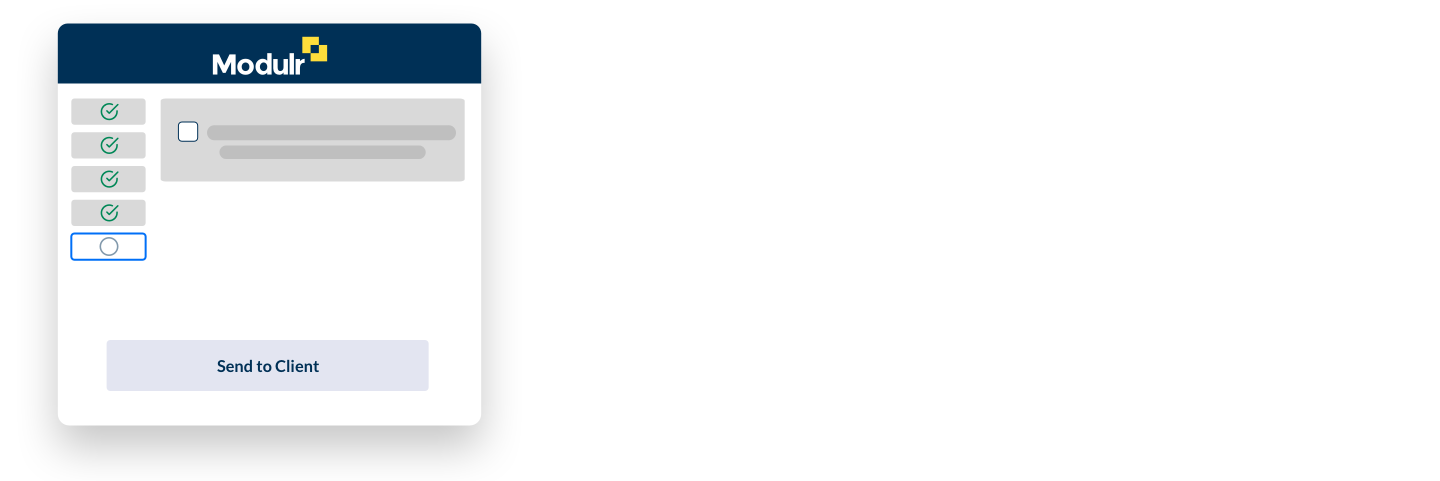
8. Sending the application for approval
Once you’re happy all the information is correct, you can now send your application to your client to approve and submit.
- Double check that all the information is correct.
- Read the disclaimer and select the checkbox if you agree with the statement.
- Select ‘Send to client’.
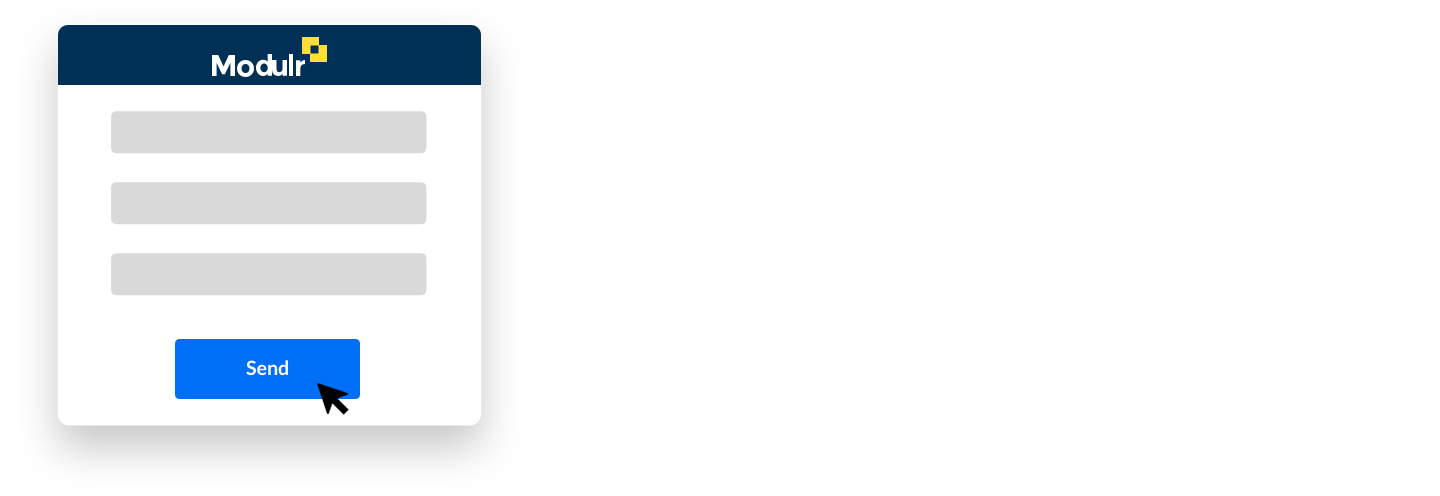
9. Enter Client contact details
- You'll be prompted to enter the Client's contact details.
- Select 'Send'.
10. Client receives application start email
Your client will receive an email with a link to access the application.
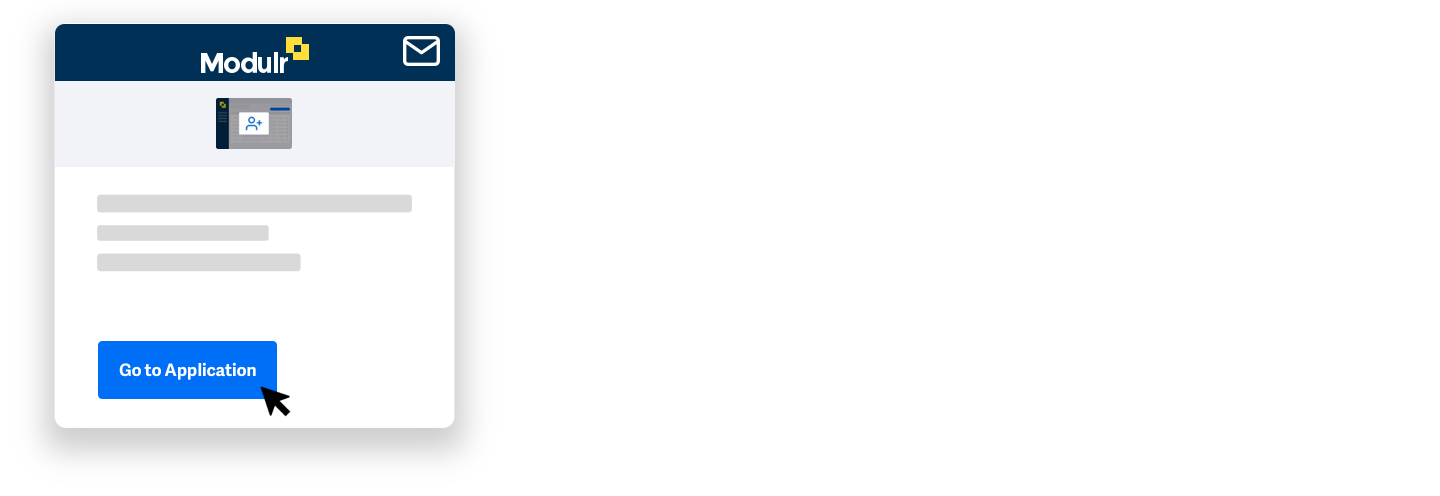
Email link expiration
The email that you have triggered using the 'Send to Client' form in the application will include a link behind the 'Go to Application' button that your invited client will press to access their application.
This link has a lifespan of 14 days. If this link expires or you have sent the invite to an incorrect email address, you can resend the email by going to 'Applications' screen and selecting Resend.
Once you complete the form and select 'Send' it will reset the lifespan of the link back to 0 days.
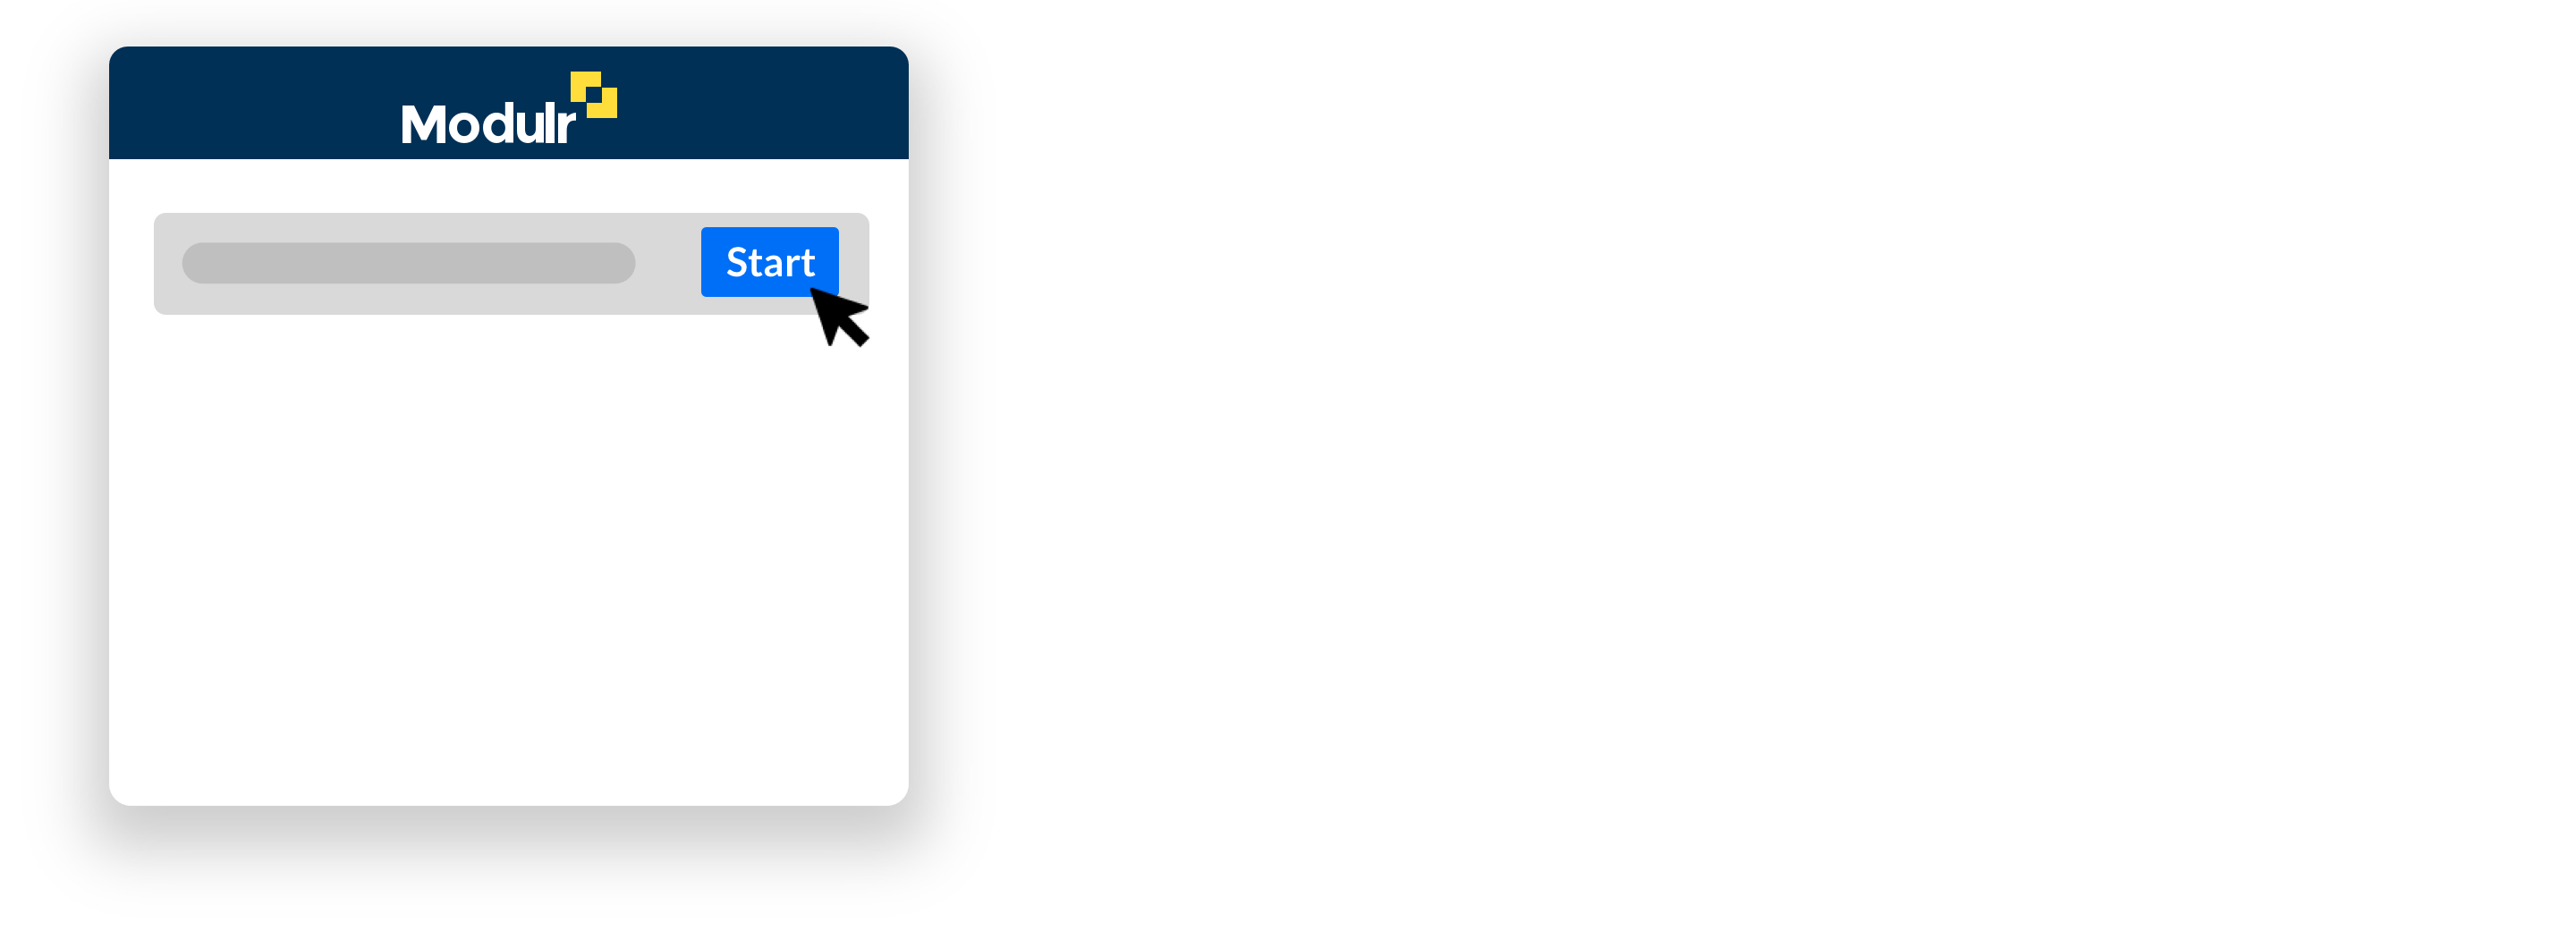
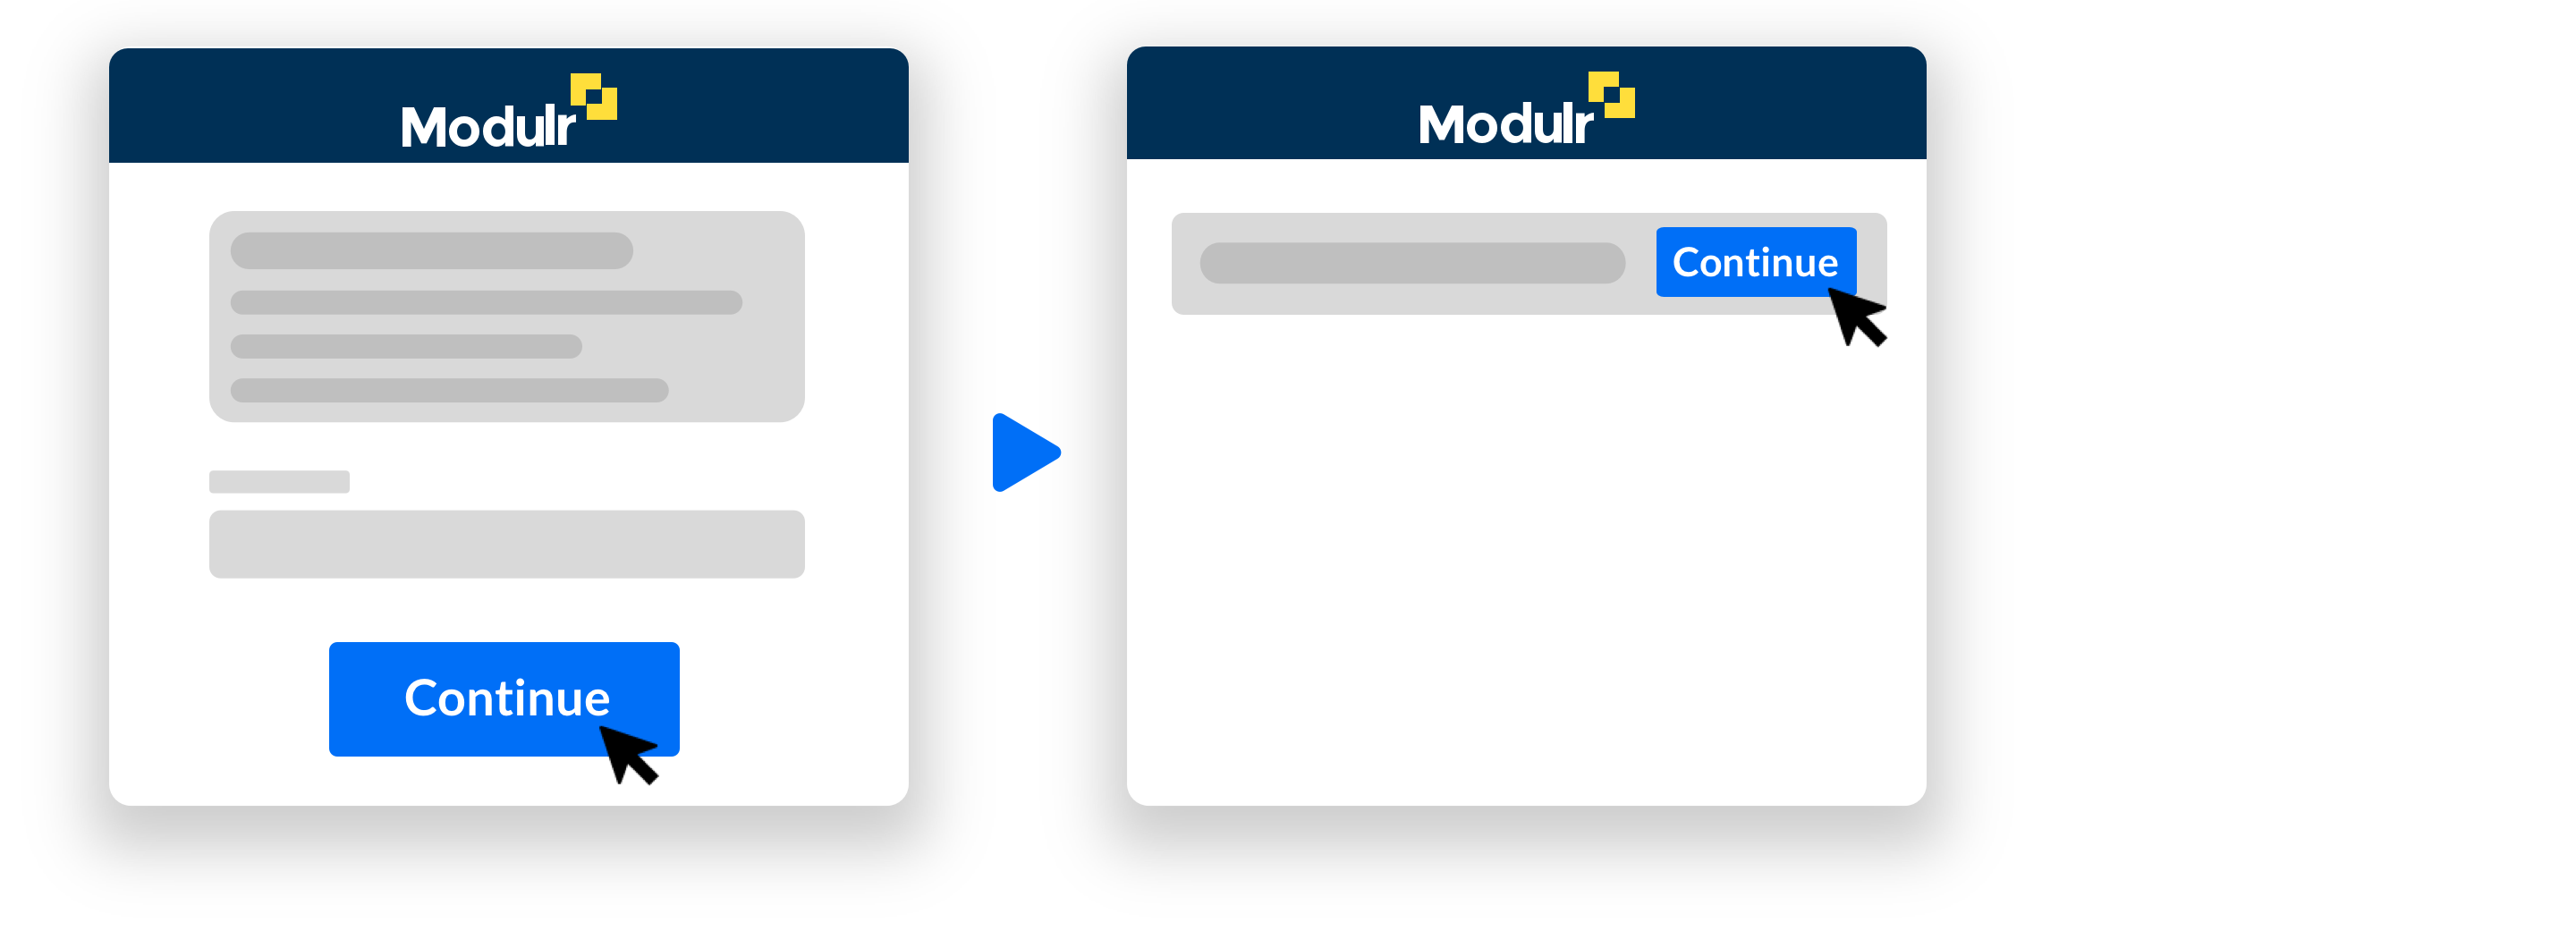
11. Client enters application
- The client will land on an information screen and selects 'Continue'.
- They choose their application on the next screen, and select 'Continue'
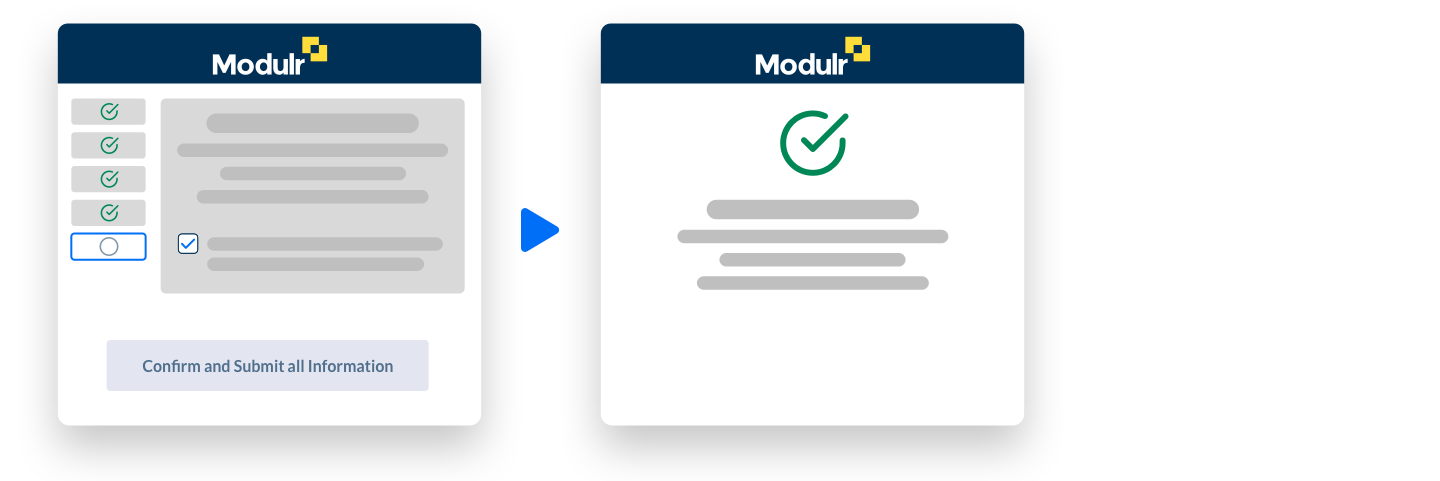
12. Client completes and submits application
- The client will land on the pre-filled application screens, showing any sections you have already completed.
- The client can review and check any completed information, and add anything else that needs completing.
- Once complete, the Client will submit the application.
- The application will be subject to our usual Compliance checks, and you'll see the Customer with a status of 'In Progress' until check are complete.
Once submitted, you’ll return to the Customers list.
Customer Statuses
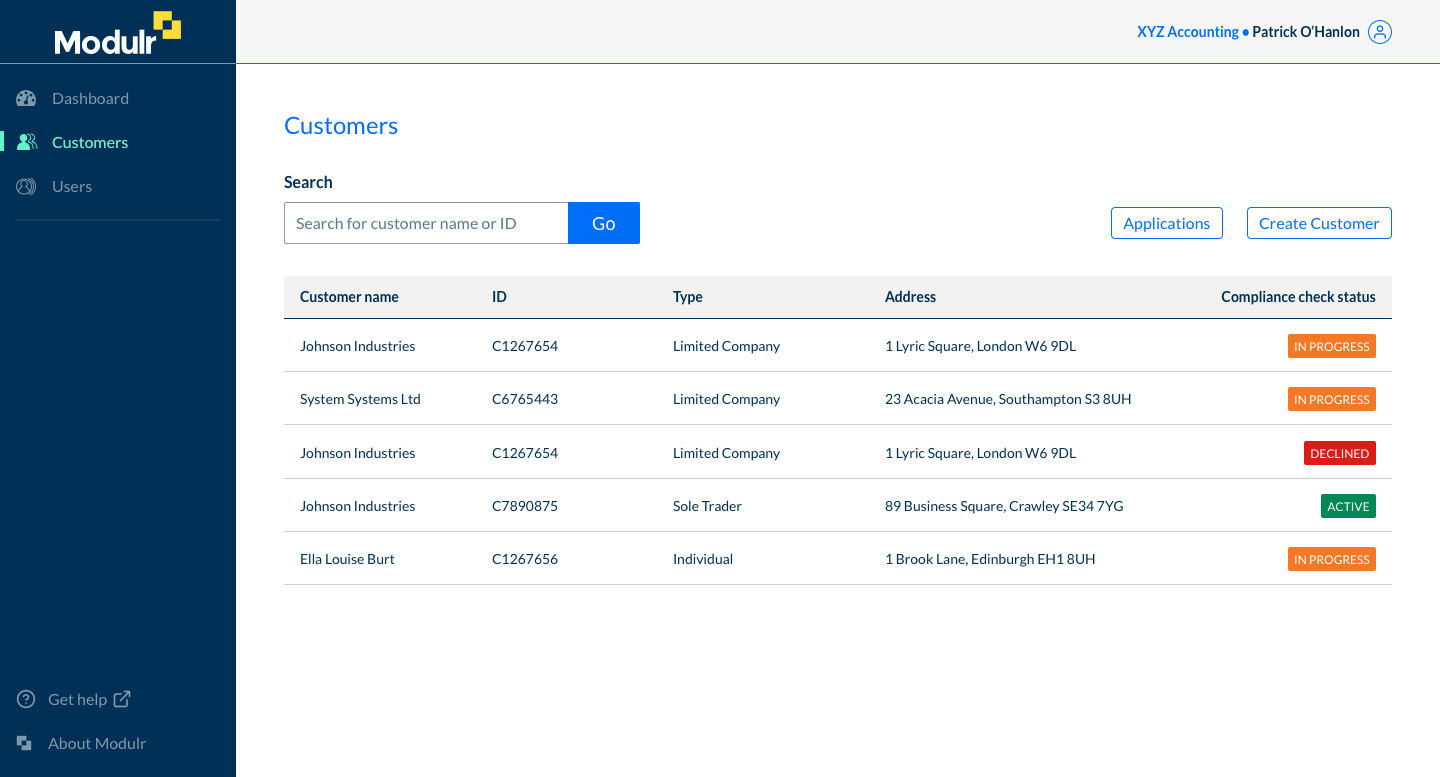
The Customer will be listed in the table as 'In Progress' while we perform our compliance checks.
Modulr performs Customer checks
Once the compliance checks have been done satisfactorily, the Customer will become active
Customer application statuses
| Status | Description |
|---|---|
| In Progress | The Customer is undergoing Modulr CDD checks |
| Active | The Customer has passed CDD checks and is active |
| Declined | The customer's application has been declined. Modulr's compliance team will be in touch. |
Viewing a non-active Customer's details
If a Customer is still In Progress, select the Customer row in the Customers page to view the Customer details.
Additional Information Requests
If we need some additional information to support the application, we’ll be in touch via email. Look out for any emails from [email protected] (check your spam).
Updated 8 months ago