How do I upload a payment file?
File upload has changed
You now have the ability to upload payment files that use either batch processing or bulk processing. This option is provided at the point you upload the file.
The guidance below explains what this change means for you.
Strict Processing and payment approvals
File upload previously used bulk processing with strict processing on. This meant that if any payment in the file failed, all payments would fail. Bulk processing now has strict processing off, meaning even if a payment fails, all successful payments will still process. Each payment will still need to be approved individually.
This type of processing is best suited to files where you expect there might be a few errors stopping payments being made.
Batch processing means that all payments can be approved with a single approval, however if any payment fails the entire file will fail.
This type of processing is best suited to files where you do not anticipate any errors, e.g. to beneficiaries that you might have paid before.
Depending on your setup, you can use the Modulr portal to upload a Bacs 18 Standard payment file containing multiple payments to send from your Modulr accounts. Uploading a payment file requires an Authy authentication.
Sage users won't see the File Upload feature.

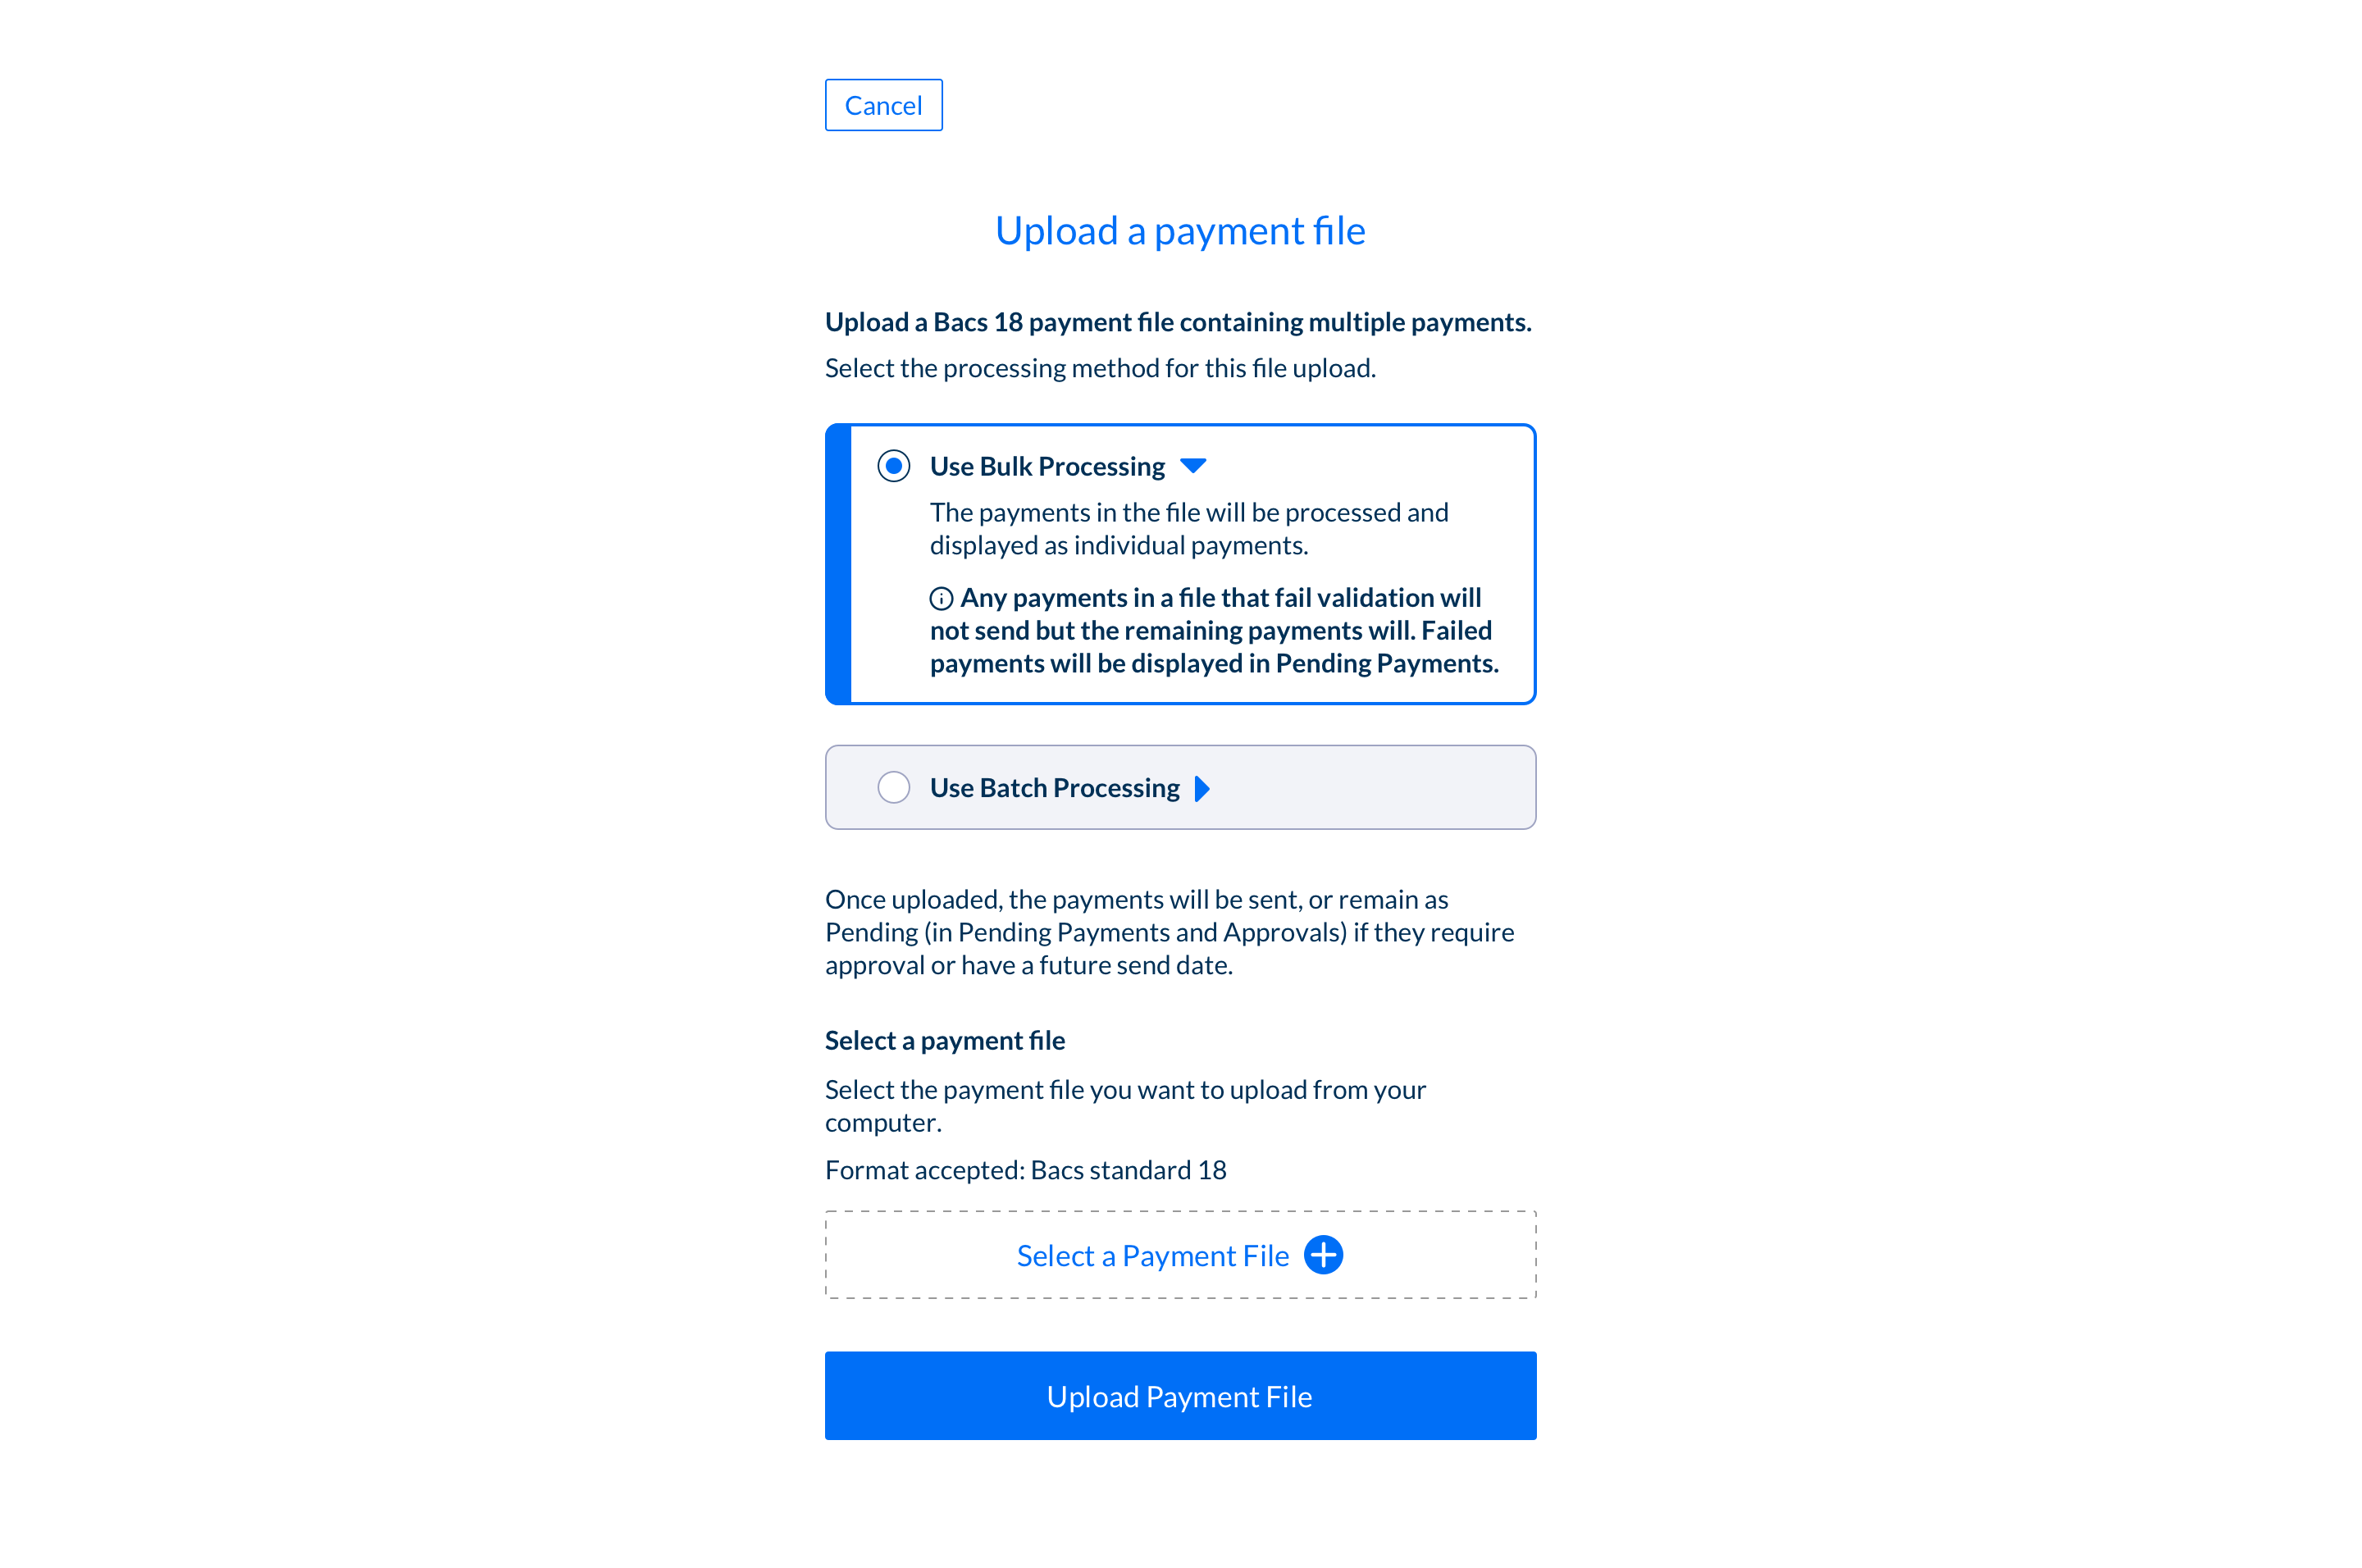
Selecting the 'Upload a payment file' option on the Move Money screen takes you into a screen where you can select the file to upload and the method of processing.
Bulk
Choosing the "Bulk" option will result in each payment being sent individually, necessitating approval for each payment in Approvals. If Bulk is selected, strict processing will be OFF. Any payment that fails will remain in the Pending Payments, while the successful payments will proceed as intended. Bulk processing is recommended in cases where there's a risk of payment failures
Batch
Choosing the "Batch" option involves grouping payments together. This facilitates paying multiple parties with a single approval (approving the batch in one action). If Batch is selected, strict processing will be ON. If any payment in the batch fails validation, the entire batch will fail. Details about the errors leading to the failed payment can be viewed in Pending Payments when the specific Batch is selected. Batch processing should be the preferred choice when there is confidence in the accuracy of the file details and a single approval is required.
The steps for both journeys are below:
- Select Move Money from the side menu.
- Select either Bulk or Batch
- Select the ‘Upload a payment file’ option.
- ‘Select a file’ will open your computer’s file browser where you can choose the file you want to upload.
- The filename will display in the field shown.
- Select Upload file.
- The file will begin to be checked, if any errors occur, you’ll see information about what went wrong.
- Once checked, make sure the details are correct on the Confirmation screen.
- If everything looks OK, select ‘Confirm’ to process the file (you’ll be prompted for an Authy authentication).
- Once processed, you’ll see a screen with information about what happens next. If any errors occur, you'll see information on screen to help you.
- Select Pending Payments in the side menu to view the payments.
- The payments will need to be Approved in Approvals by an eligible user in order to send. Payments uploaded from a Payment File will appear in the either in the 'Payments' or 'Batches' tab of Approvals.
- Any payments from the file dated to send in the future will display in Pending Payments until the date of sending.
- Failed payments will remain in Pending Payments
Updated 8 months ago
